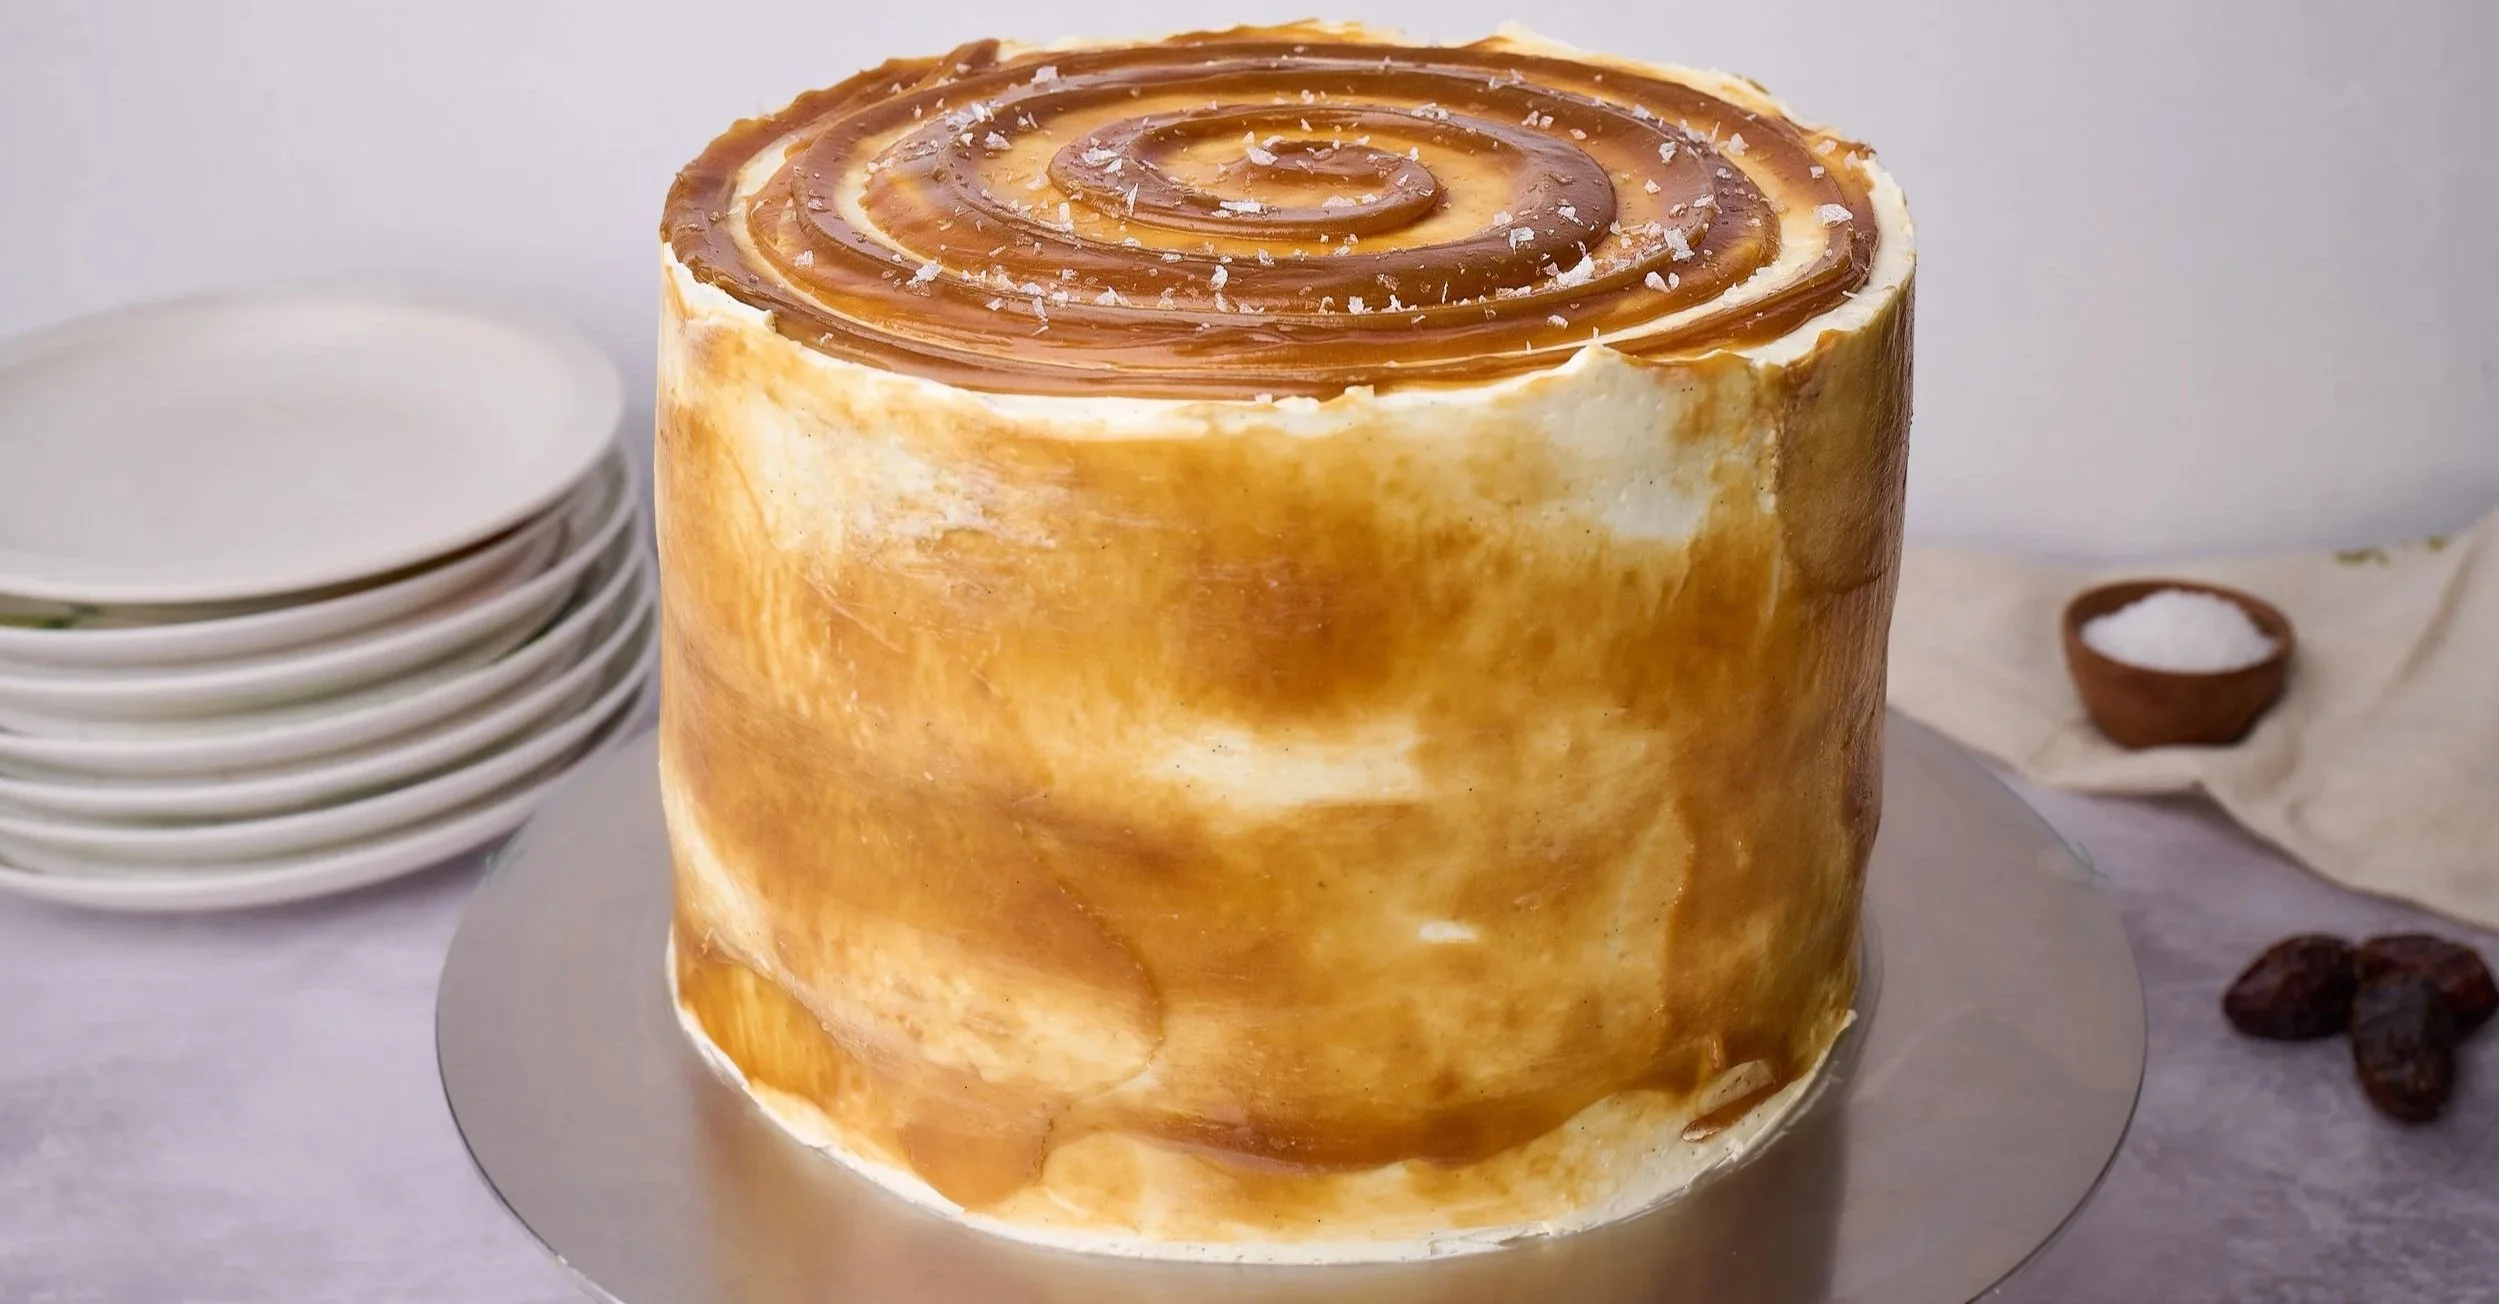
Sticky Toffee Pudding Layer Cake
Serves 12Everything you love about classic sticky toffee pudding, transformed into a supersized, celebration-worthy layer cake that’s perfect for winter gatherings.
If you’re skeptical of dates, I’m begging you to trust me here. Paired with brown butter, they create a cake that’s incredibly rich yet naturally moist—the kind that stays soft and plush for days.
Sticky toffee desserts can tip into overly sweet territory, but not this one. Everything is built around balance: a salty toffee sauce (a brown-sugar caramel that’s easier and more foolproof than the traditional kind) and a lightly sweetened crème fraîche buttercream that adds just enough tang to cut through the richness.
-
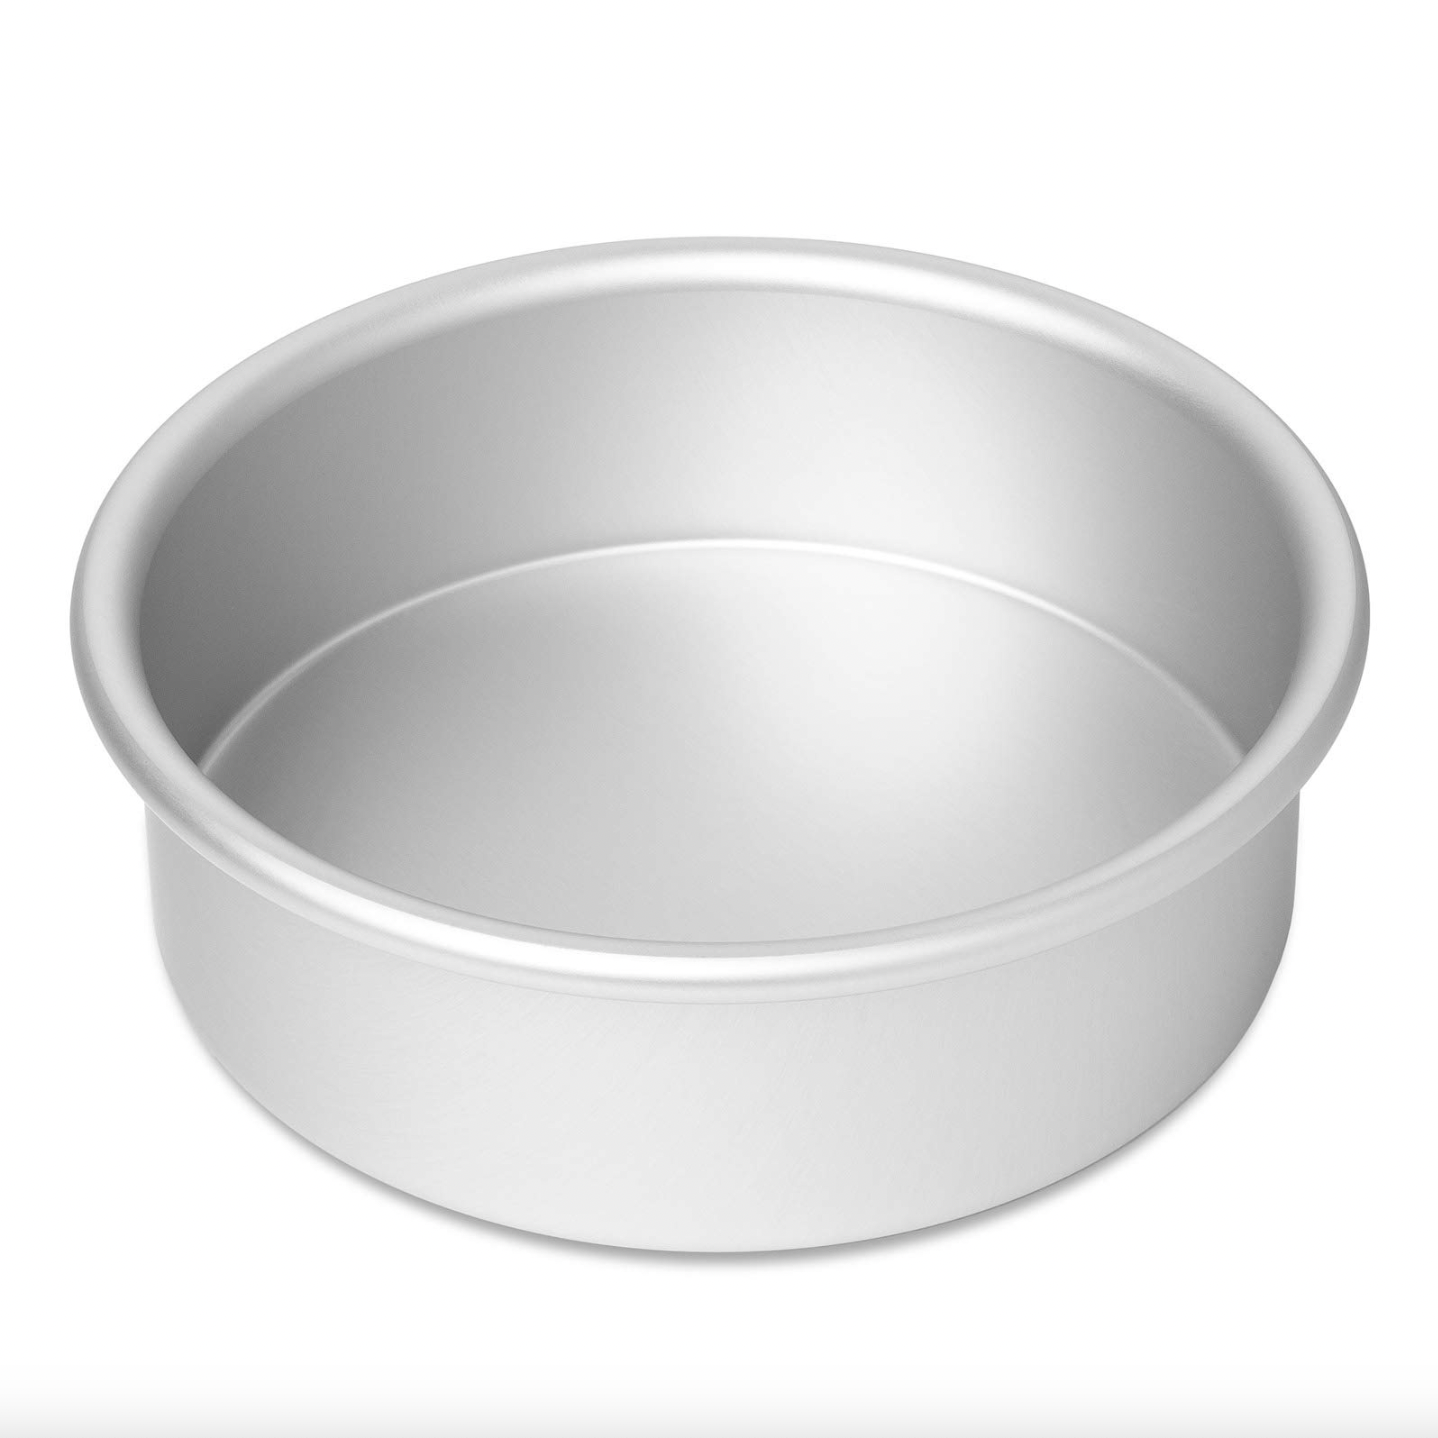
![Eight Inch Round Cake Pans from Amazon fat daddios best 8 inch cake pans aluminum metal]()
Three 8-Inch Round Cake Pans
-
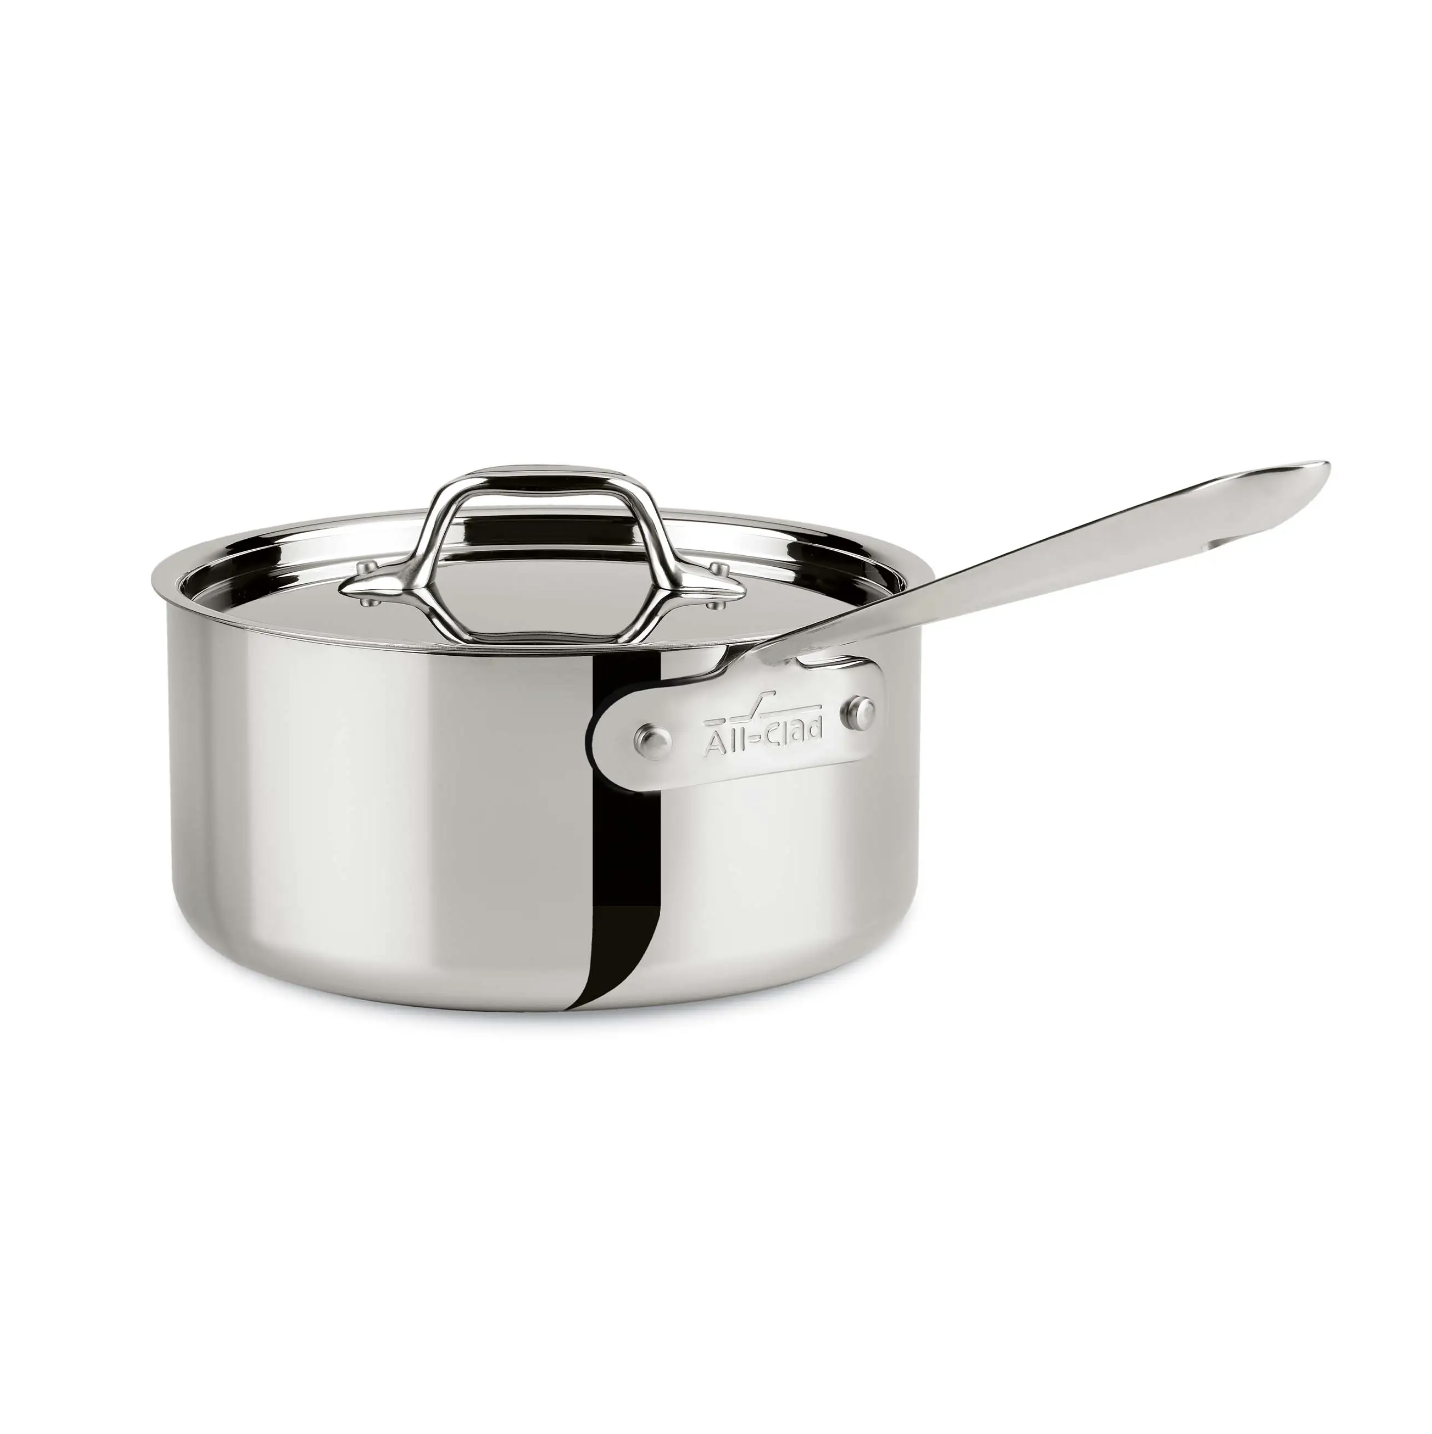
![Medium sauce pan stainless steel saucepan all clad saucepan by Amazon 3 quart]()
Medium Saucepan
-
![Oxo Stainless Steel Eleven Inch Whisk on Amazon best stainless steel whisk best kitchen whisk]()
Whisk
-
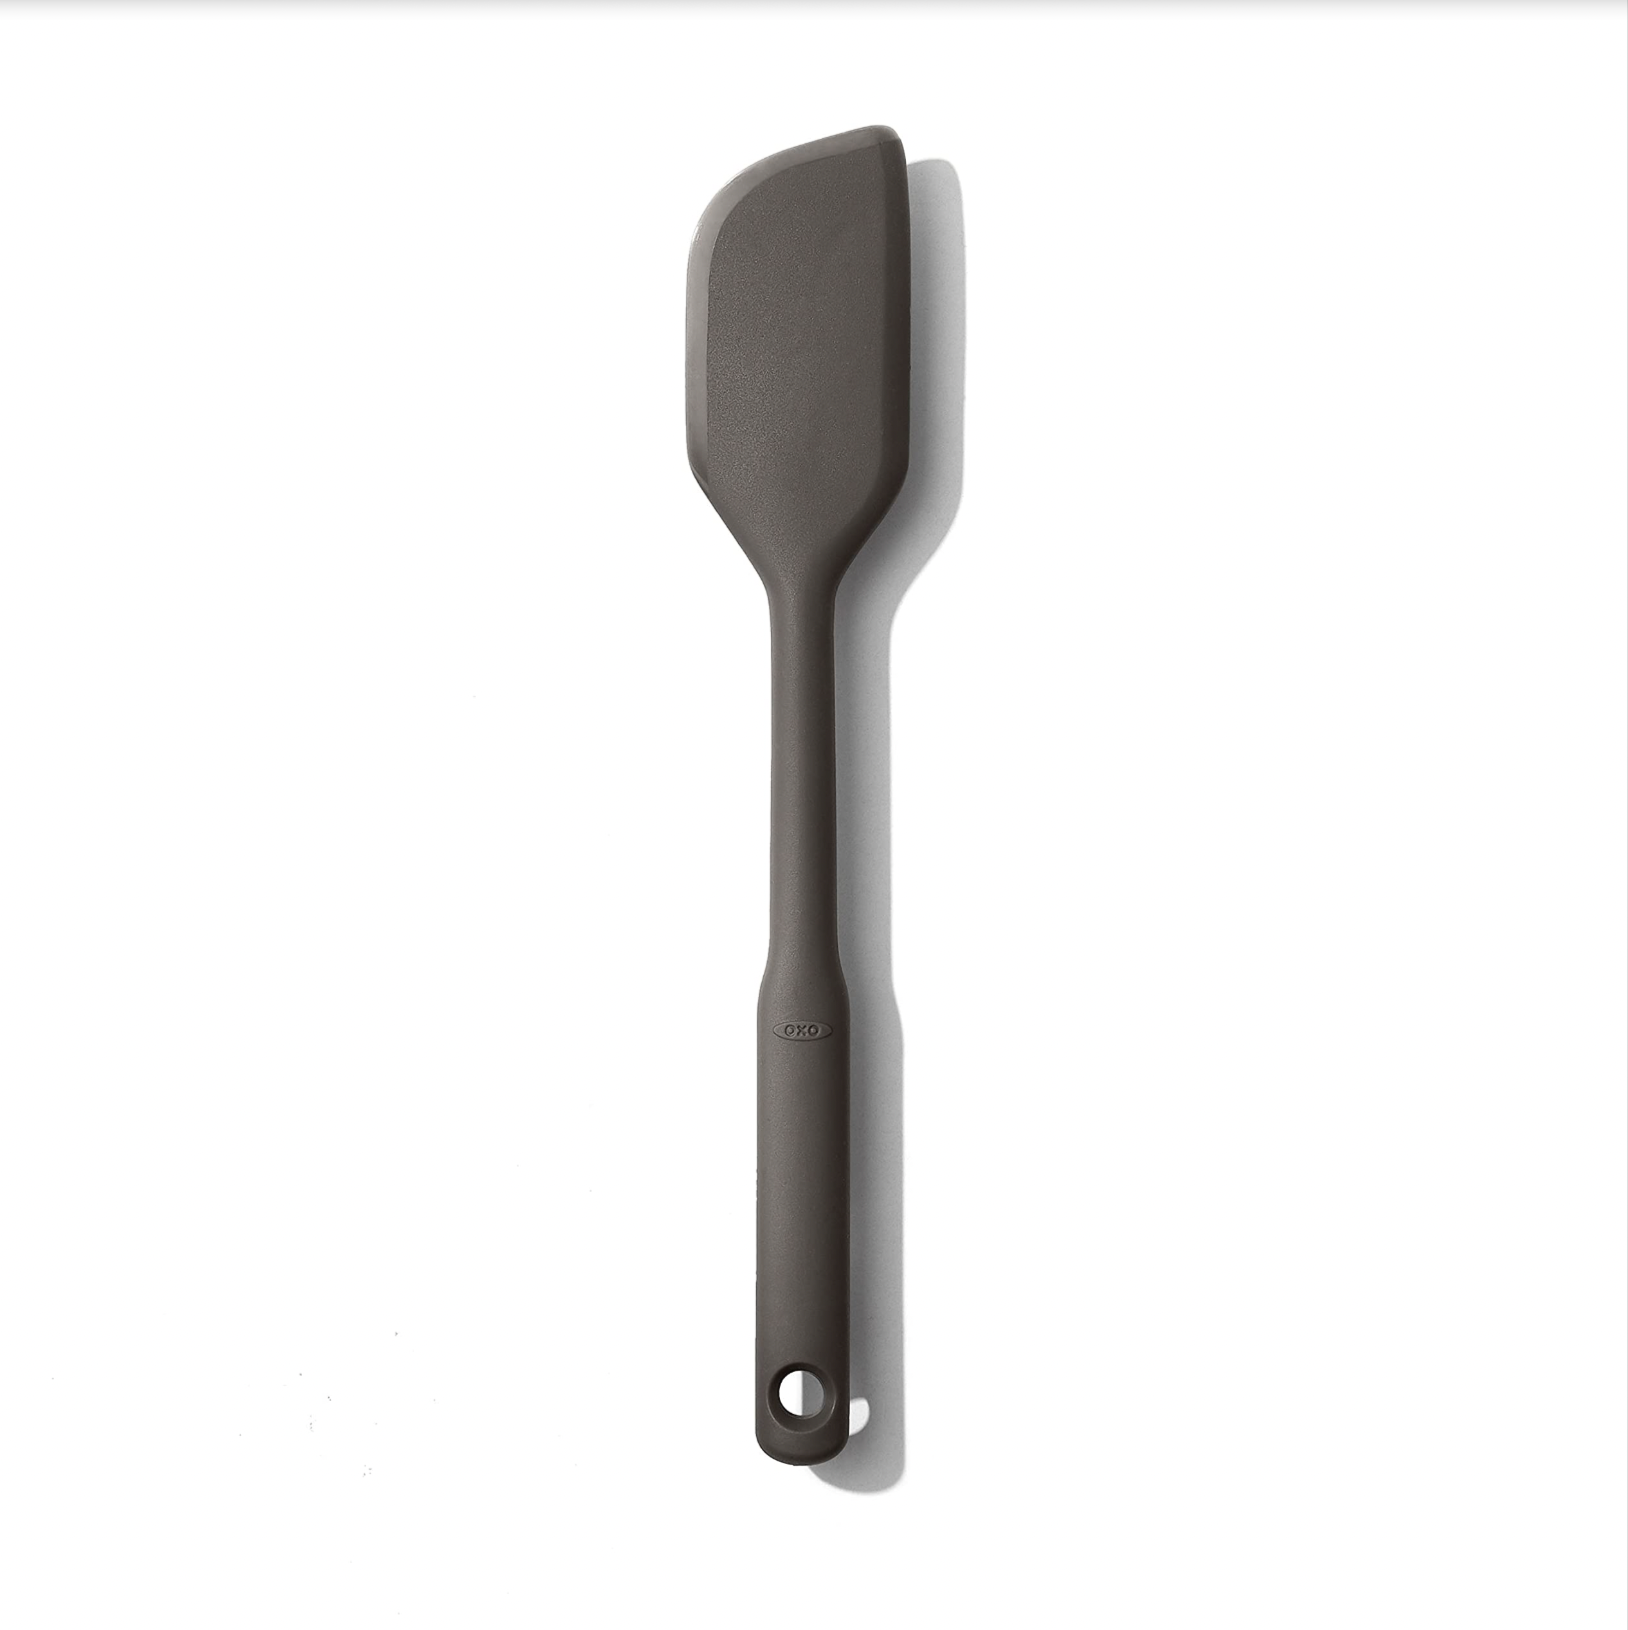
![Oxo good grips everyday spatula on amazon best silicone spatula best rubber spatula for cooking]()
Spatula
-
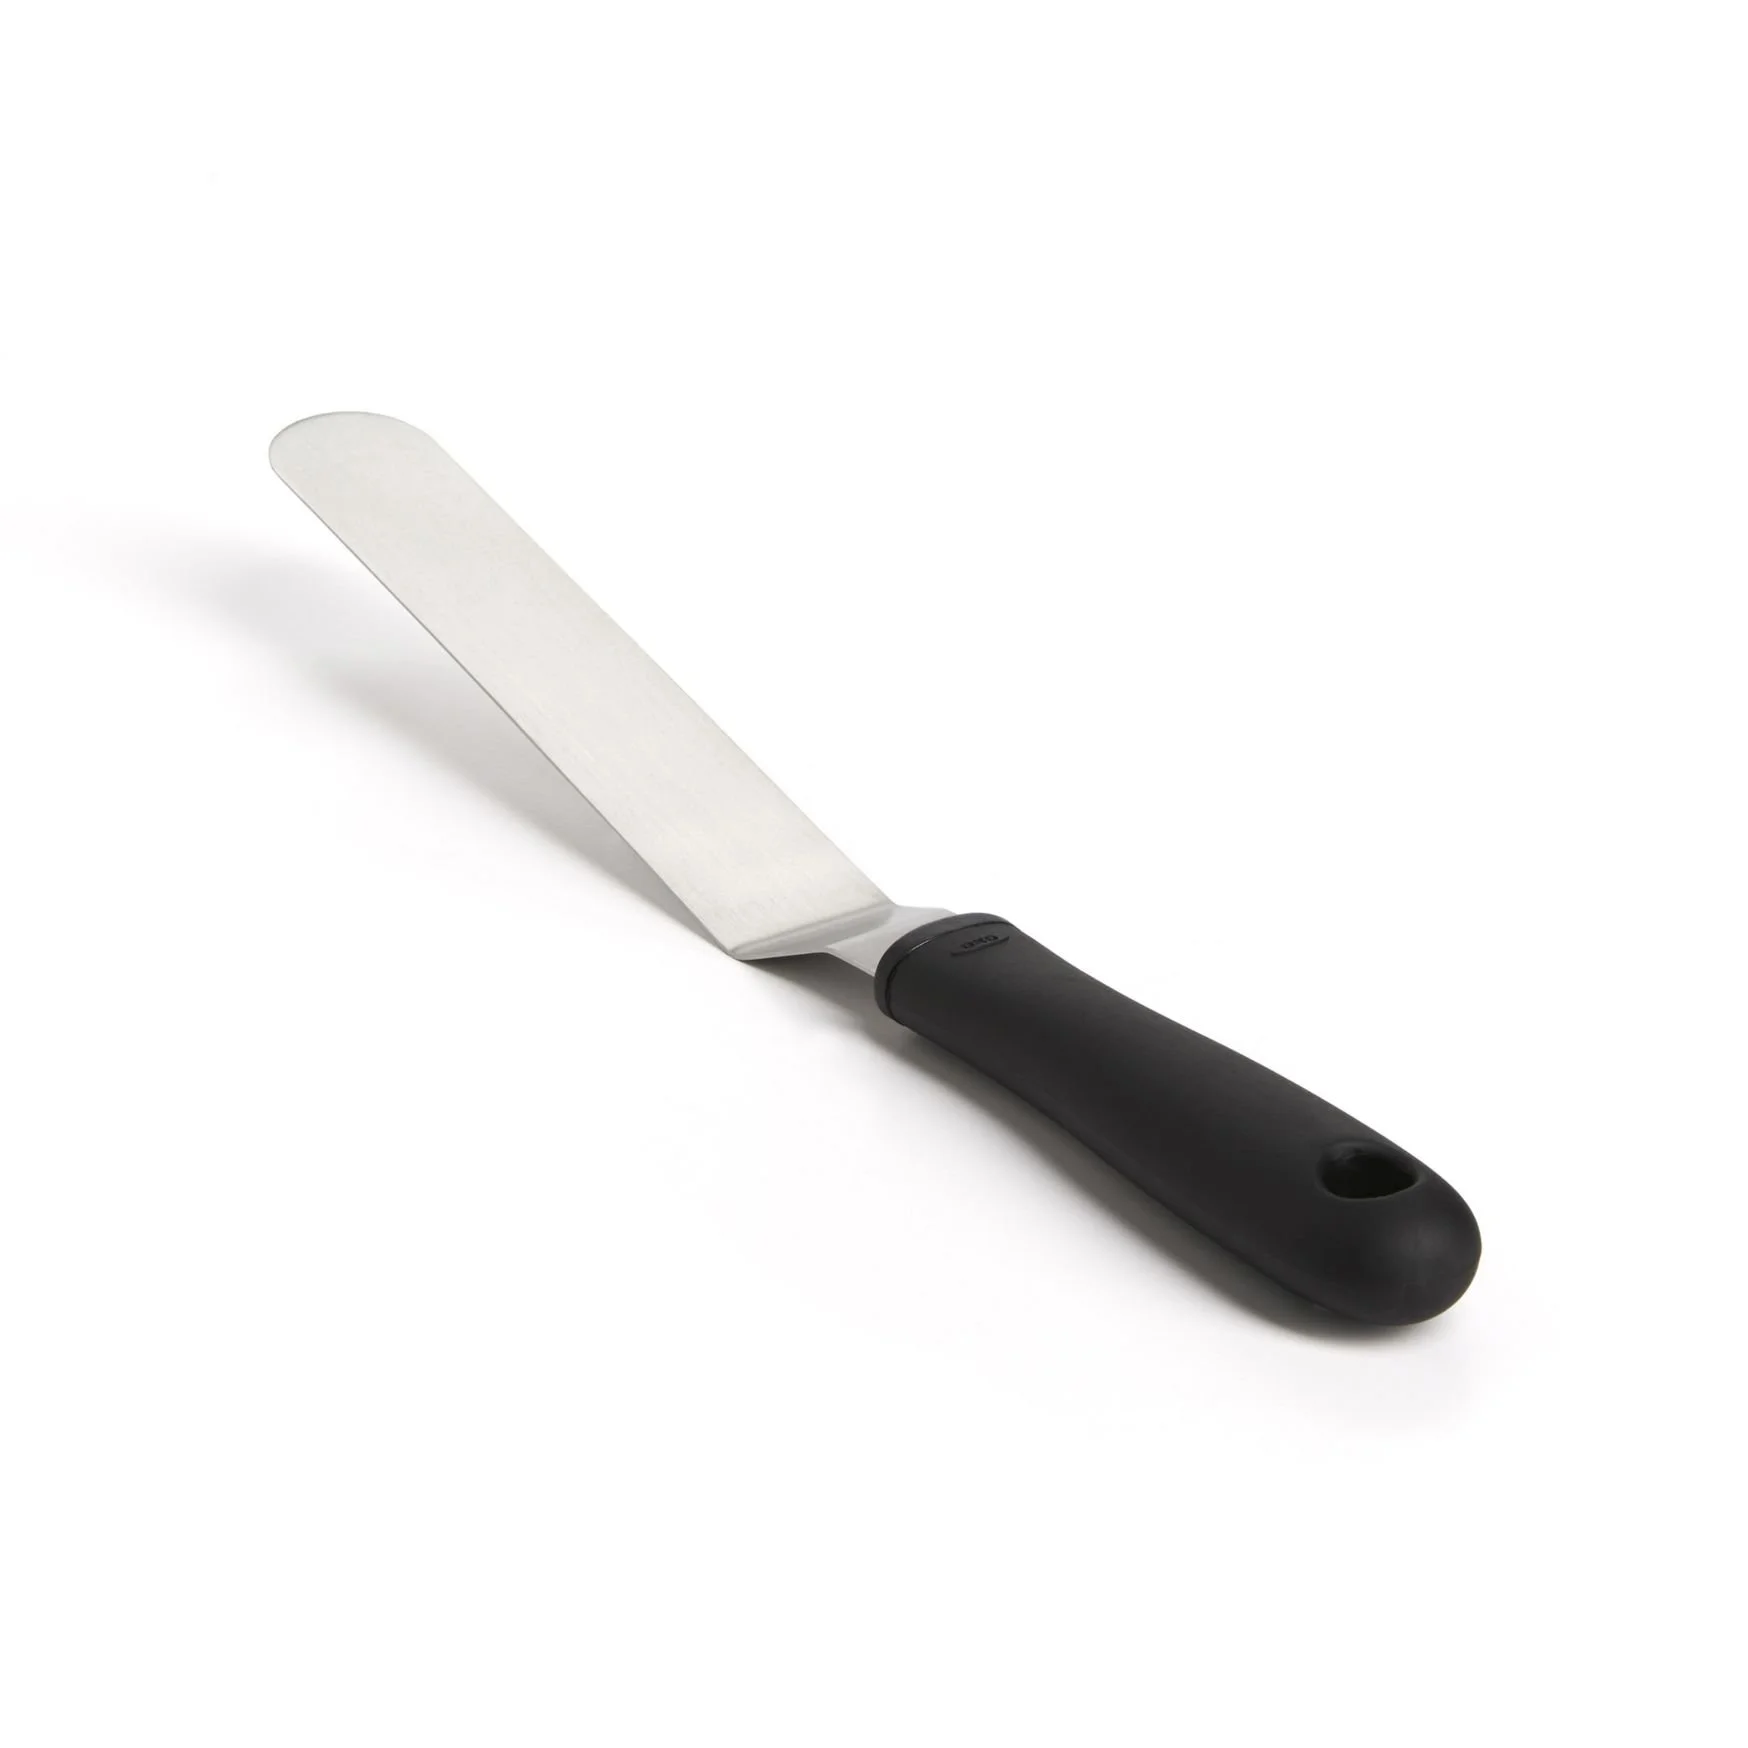
![OXO Good Grips Offset Spatula on Amazon]()
Offset Spatula
-
![Kitchen Aid Five Quart Stand Mixer in Matte Black Finish on Amazon]()
Stand Mixer or Hand Mixer
-
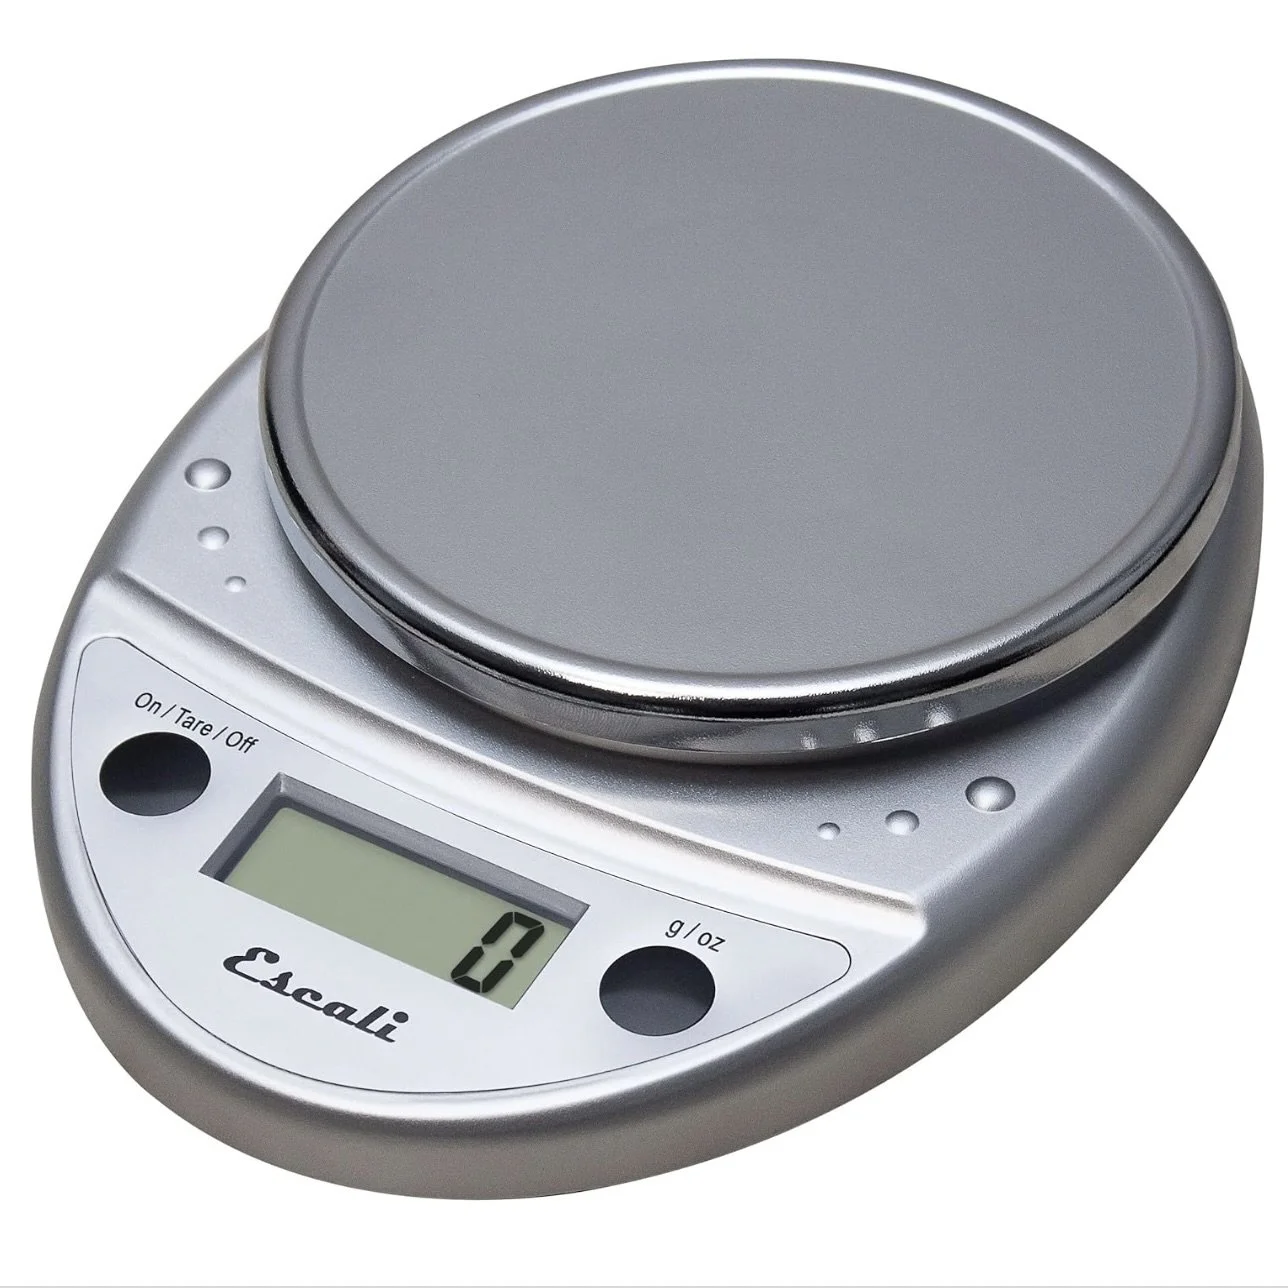
![Escali Digital Food Scale in Chrome Color on Amazon]()
Digital Kitchen Scale


INGREDIENTS
Date Base
18 oz Medjool dates, pitted and chopped (510 g, after pitting)
2 ¼ cups boiling water
2 ¼ tsp baking soda
Sticky Toffee Cake
¾ cup (1 ½ sticks) unsalted butter (170 g)
3 cups all-purpose flour (360 g)
1 ½ tsp baking powder
1 ½ tsp baking soda
1 tbsp Diamond Crystal kosher salt
(or 2 ¼ tsp Morton kosher salt)¾ cup neutral oil (e.g. canola or grapeseed) (180 g)
2 ¼ cups packed dark brown sugar (480 g)
1 tbsp unsulphured molasses, not blackstrap (30 g)
4 large eggs, room temperature
1½ tbsp pure vanilla extract
¾ cup sour cream, room temperature (180 g)
Toffee Sauce
¾ cup (1 ½ sticks) unsalted butter (170 g)
1 ½ cups dark brown sugar, packed (300 g)
1 cup heavy cream (240 g)
1 tsp Diamond Crystal kosher salt (or ¾ tsp Morton kosher salt)
2 ¼ tsp vanilla extract
Crème Fraîche Frosting
2 cups (4 sticks) unsalted butter, softened (454 g)
4 oz cream cheese, very soft (113 g)
¾ cup crème fraîche (170 g)
2 ½ cups powdered sugar, sifted (300 g)
1 tbsp vanilla bean paste or extract
½ tsp Diamond Crystal kosher salt (or ¼ tsp Morton kosher salt)
DIRECTIONS
Prepare the Dates
Stir together the chopped dates, boiling water, and baking soda in a heatproof bowl.
Let sit for 20 minutes, until the dates are very soft.
Reserve ¼ cup of the soaking liquid, then strain the dates through a fine-mesh sieve.
Transfer the dates and reserved soaking liquid to a blender or food processor and blend until a thick, mostly smooth paste forms. Alternatively, mash the dates by hand using a fork or potato masher. Small bits of date are fine.
Make the Cakes
Preheat the oven to 350°F (180°C). Generously grease three 8-inch round cake pans and line the bottoms with greased parchment paper.
Add the butter to a small saucepan and cook over medium-low heat. Stir often until butter foams, then browns, about 5–7 minutes, until deeply golden with brown flecks.
Immediately transfer to a heatproof bowl to stop the cooking. Set aside to cool until warm but not hot.
In a medium bowl, whisk together the flour, baking powder, baking soda, and salt.
In a large bowl, whisk together the slightly cooled browned butter and oil. Add the brown sugar and molasses and whisk until glossy and smooth.
Add the eggs and whisk until smooth and emulsified.
Whisk in the vanilla and sour cream until fully incorporated.
Fold in the blended date mixture until evenly distributed, breaking up any larger chunks of dates.
Add the dry ingredients to the wet ingredients. Fold gently until just combined and no dry flour remains.
Divide the batter evenly between the pans, smoothing the top with an offset spatula.
Bake for 34-40 minutes, until the centers spring back lightly when pressed.
Cool the cakes in their pans for 10 minutes, then turn out onto racks to cool completely.
Make the Toffee Sauce
Add the butter to a saucepan over medium heat. Once fully melted, add the brown sugar.
Cook, whisking constantly, until the mixture is glossy and fully unified, 2-3 minutes.
Slowly whisk in the heavy cream (the mixture will bubble vigorously).
Reduce heat slightly and simmer for 3–5 minutes, until thickened and spoon-coating.
Remove from heat and stir in the salt and vanilla.
Cool completely until thick, smooth, and spreadable.
Make the Frosting
In the stand mixer fitted with the paddle attachment, beat the butter and cream cheese on medium-high speed for 2–3 minutes, until completely smooth.
Add the powdered sugar and beat until creamy and aerated, 4-5 minutes.
Add the crème fraîche, vanilla paste or extract, and salt and beat on low speed just until smooth. Do not overmix, as crème fraîche can split if beaten too long.
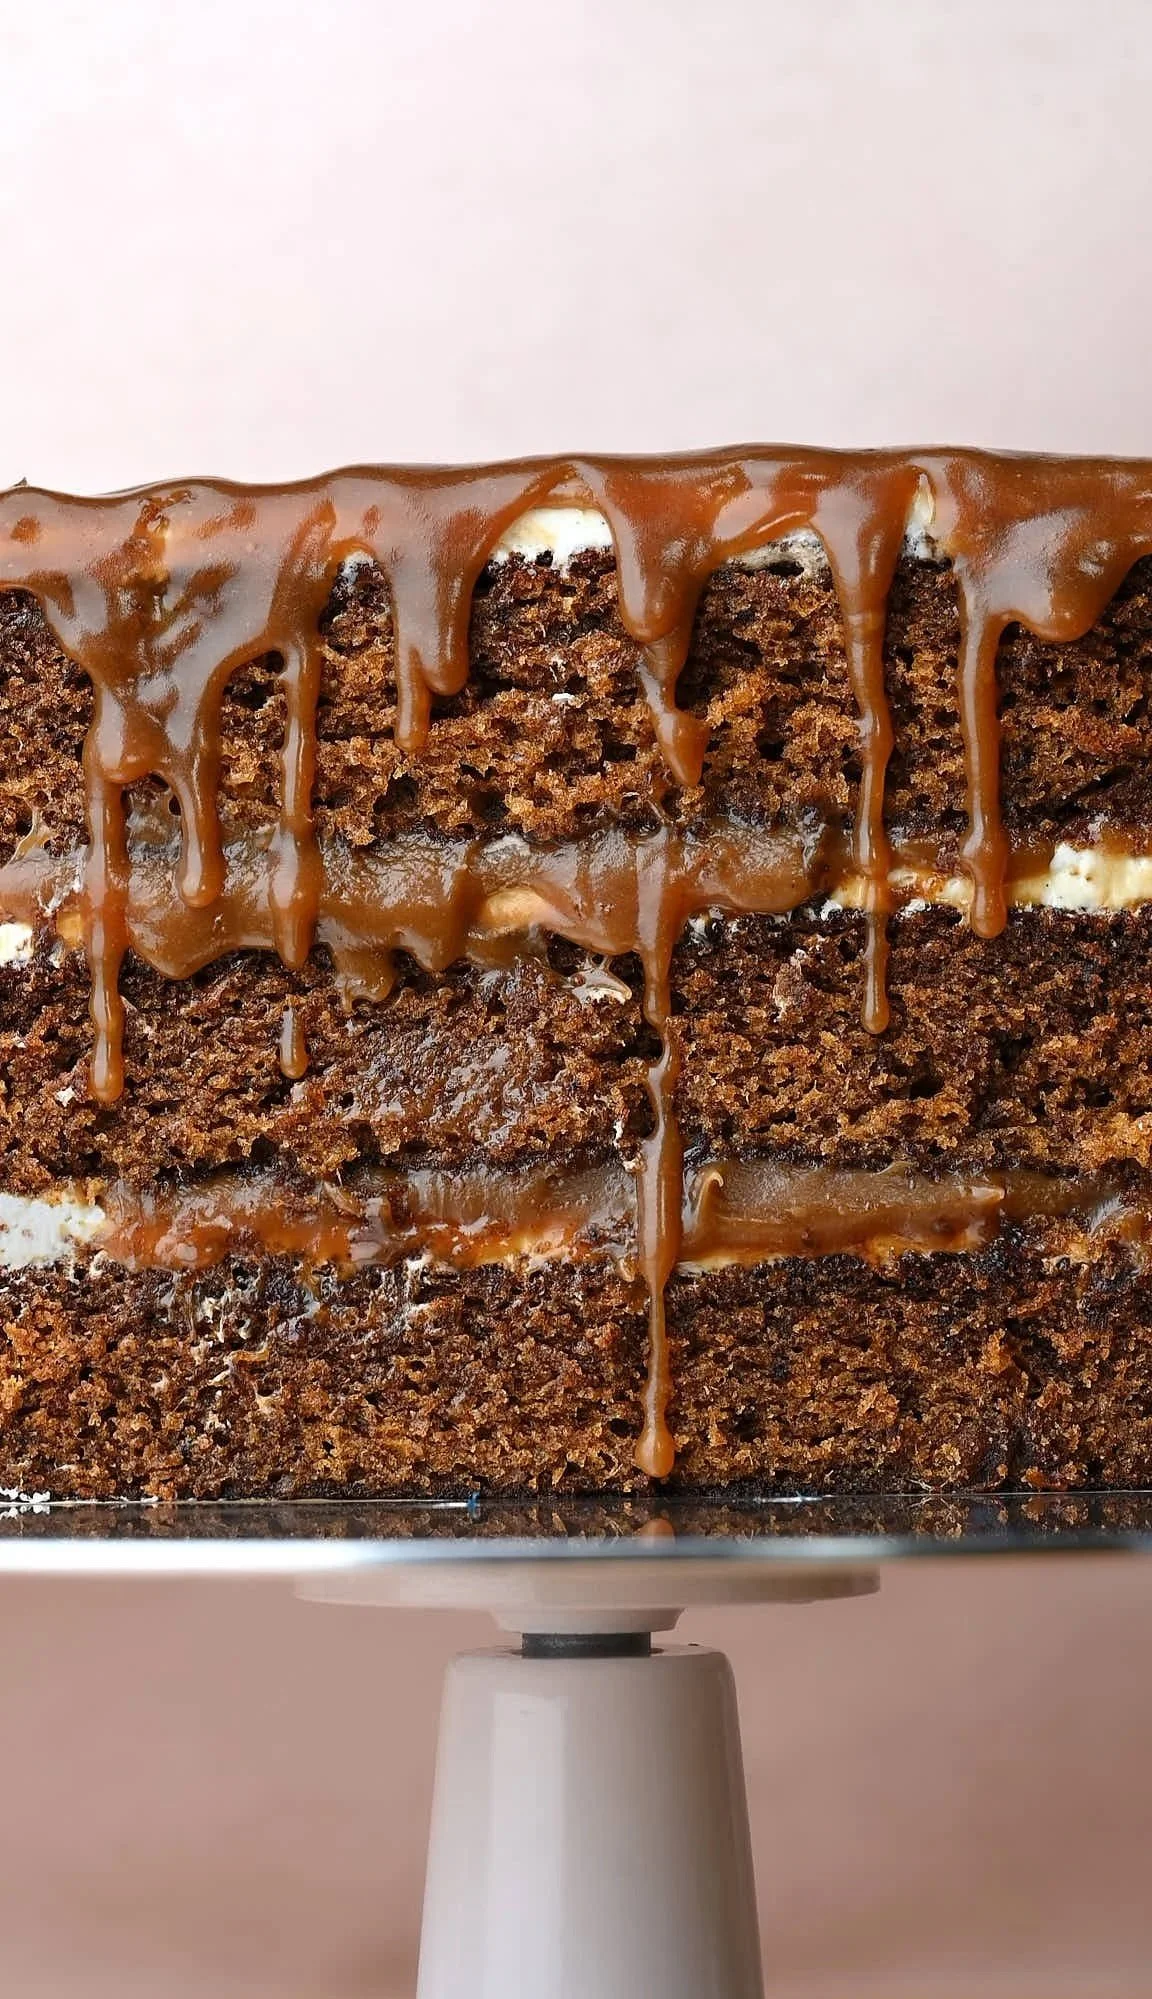
Assemble the Cake
Place the first cake layer on a serving plate or cake board.
Spread a thin layer of frosting evenly over the top. Create a raised border of frosting around the edge, leaving a shallow well in the center (this can be done by piping a ring or by spooning frosting around the perimeter).
Spoon about 1/3 cup of toffee sauce over the frosting and spread into an even layer.
Top with the second cake layer and repeat with frosting and toffee.
Add the final cake layer and frost the outside of the cake with the remaining frosting, smoothing or texturing as desired.
Dot small spoonfuls of toffee sauce around the sides and top. Use an offset spatula to gently drag the toffee into the frosting, creating a marbled effect.
RECIPE NOTES & TIPS
Store the finished cake covered in the refrigerator for up to 3 days. Bring to room temperature for the best texture before serving.
If baking in 9-inch pans, the layers will be slightly thinner and may bake a few minutes faster. If you want thick 9-inch layers, increase the recipe (for example, 1½×).
The icing is softer than classic buttercream frosting because of the crème fraîche. I like to chill it slightly before assembling the cake for better stability.
You can also listen to your cake to tell when it’s done. If you place your ear near the cake (carefully—don’t burn yourself), you should hear a soft, slow bubbling sound. Fast bubbling? It’s not done yet. Completely silent? It’s likely slightly over-baked. It takes a bit of practice, but listening for those sounds at different stages of baking can help you get a better feel for it.
To be precise and consistent when baking, I recommend using a Digital Food Scale. The one I linked is relatively inexpensive and in my opinion, a great investment for any home kitchen! But if you don’t have one, I’ll always include cup measurements as well.