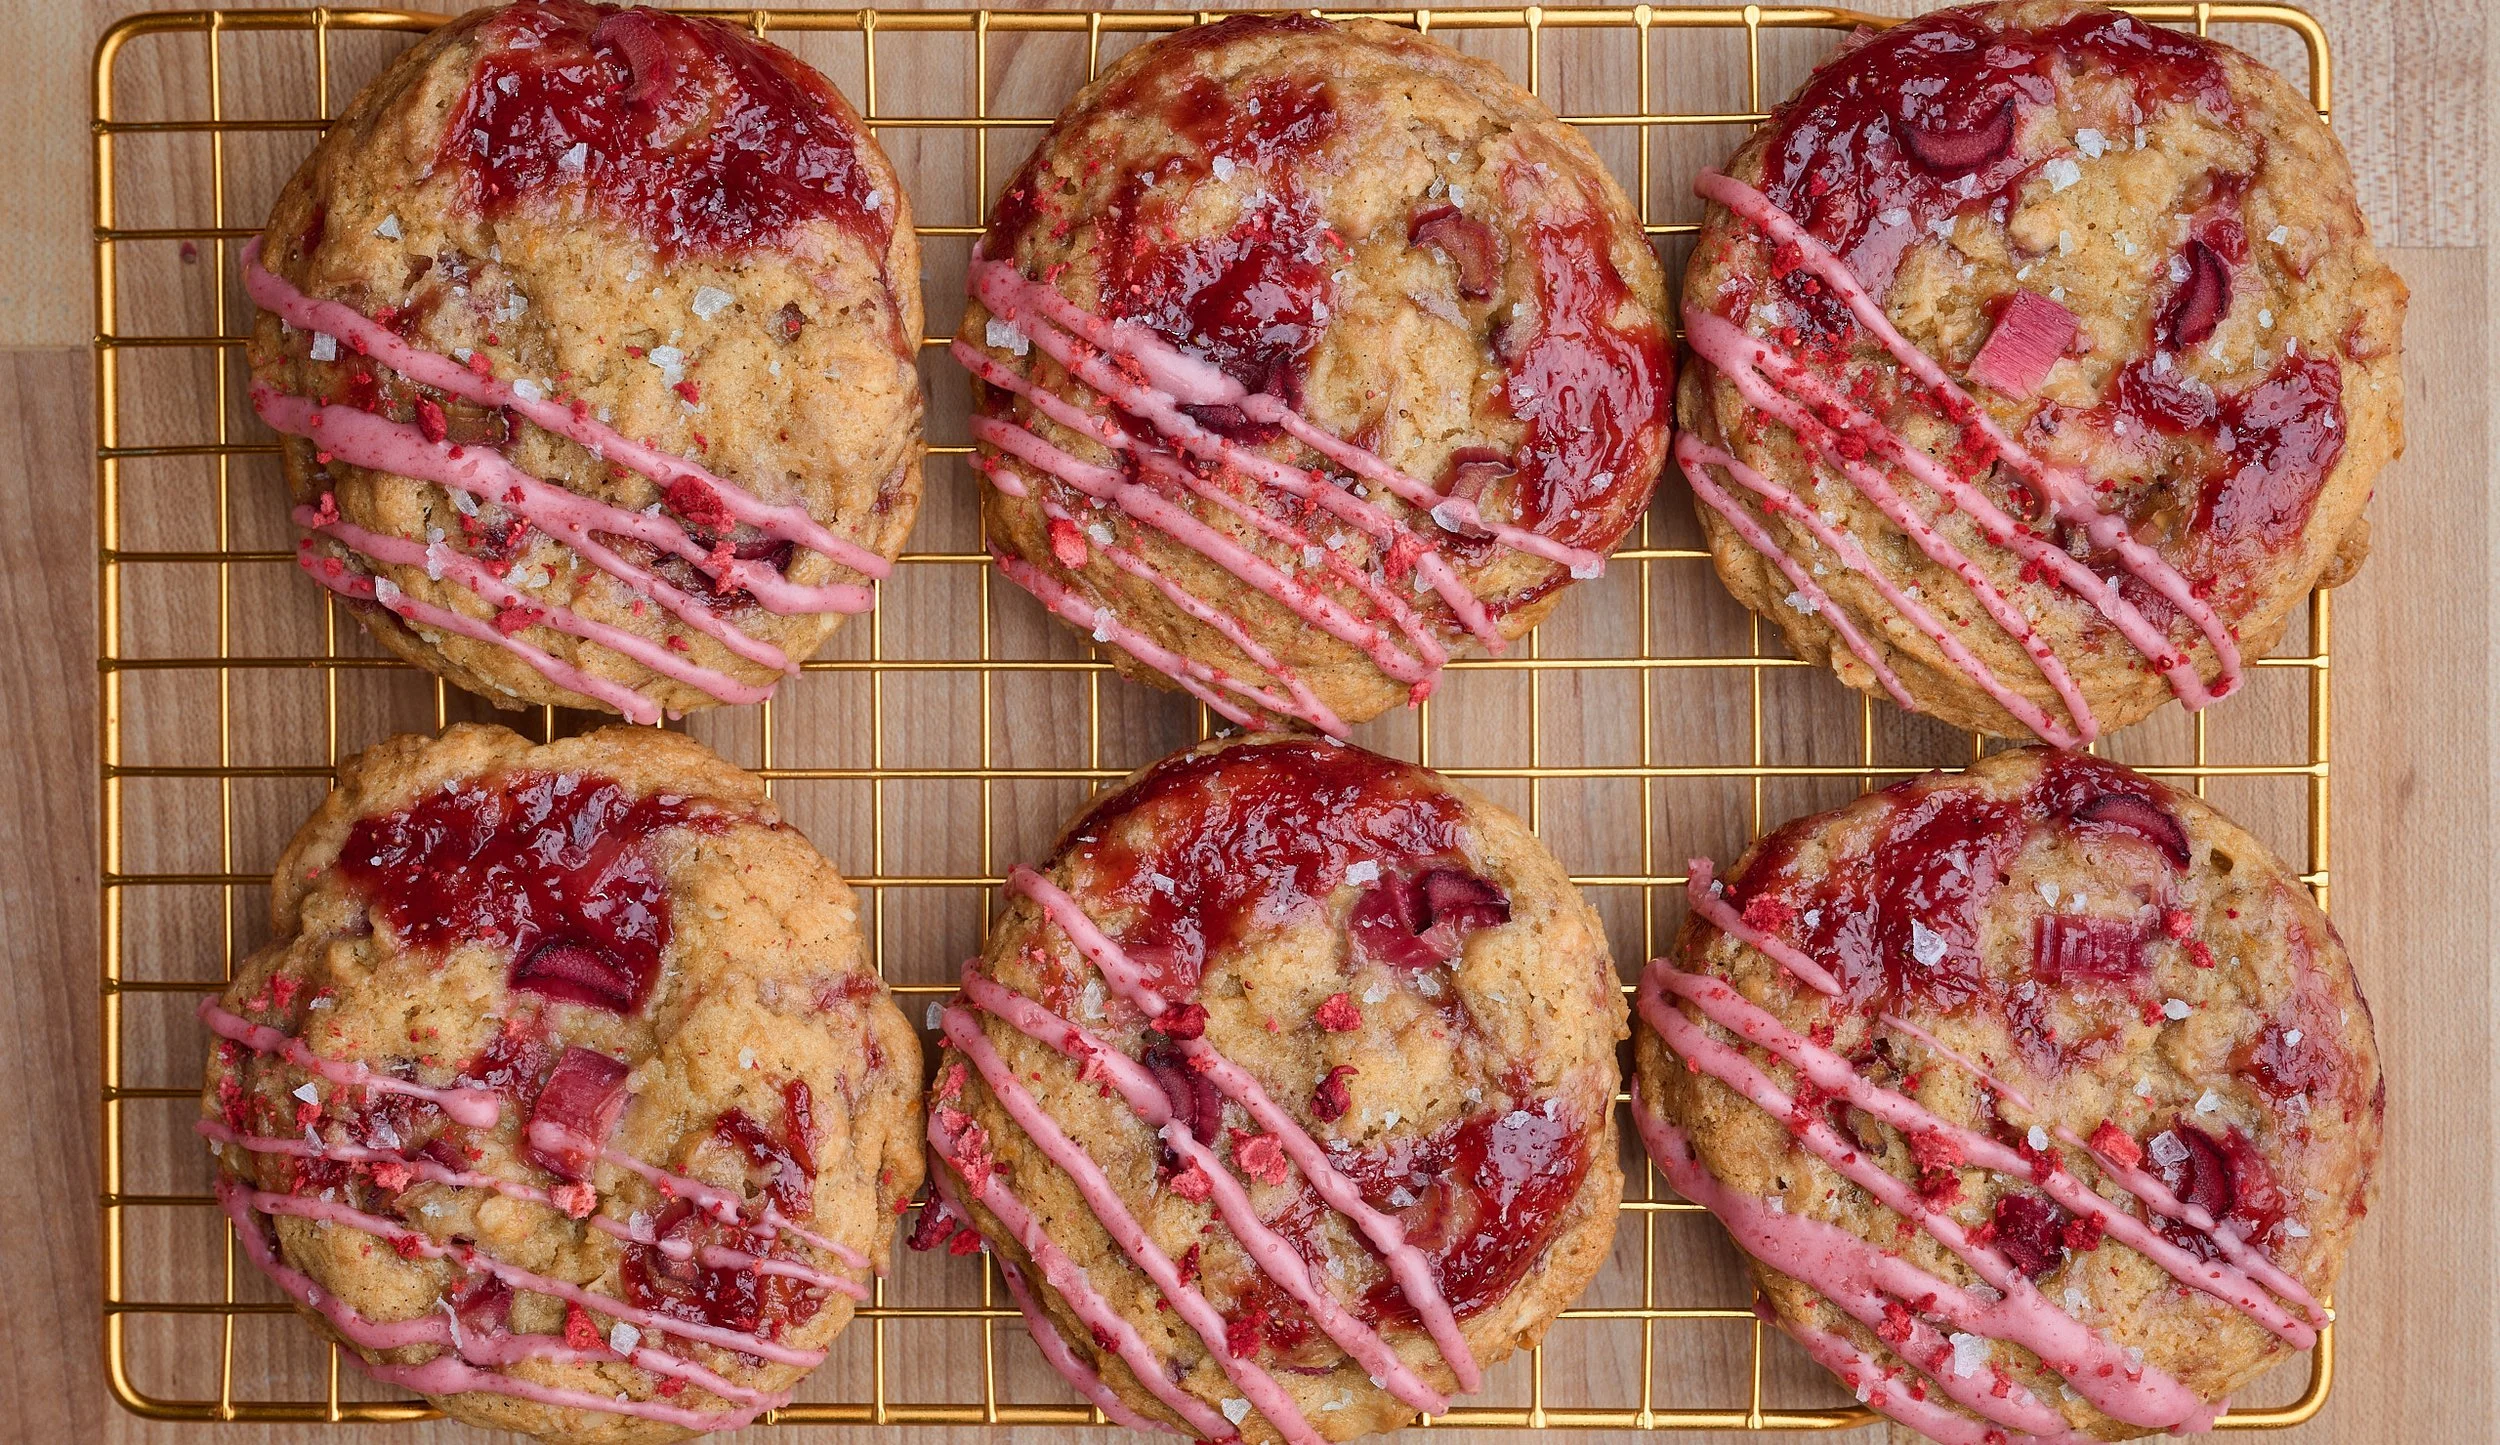
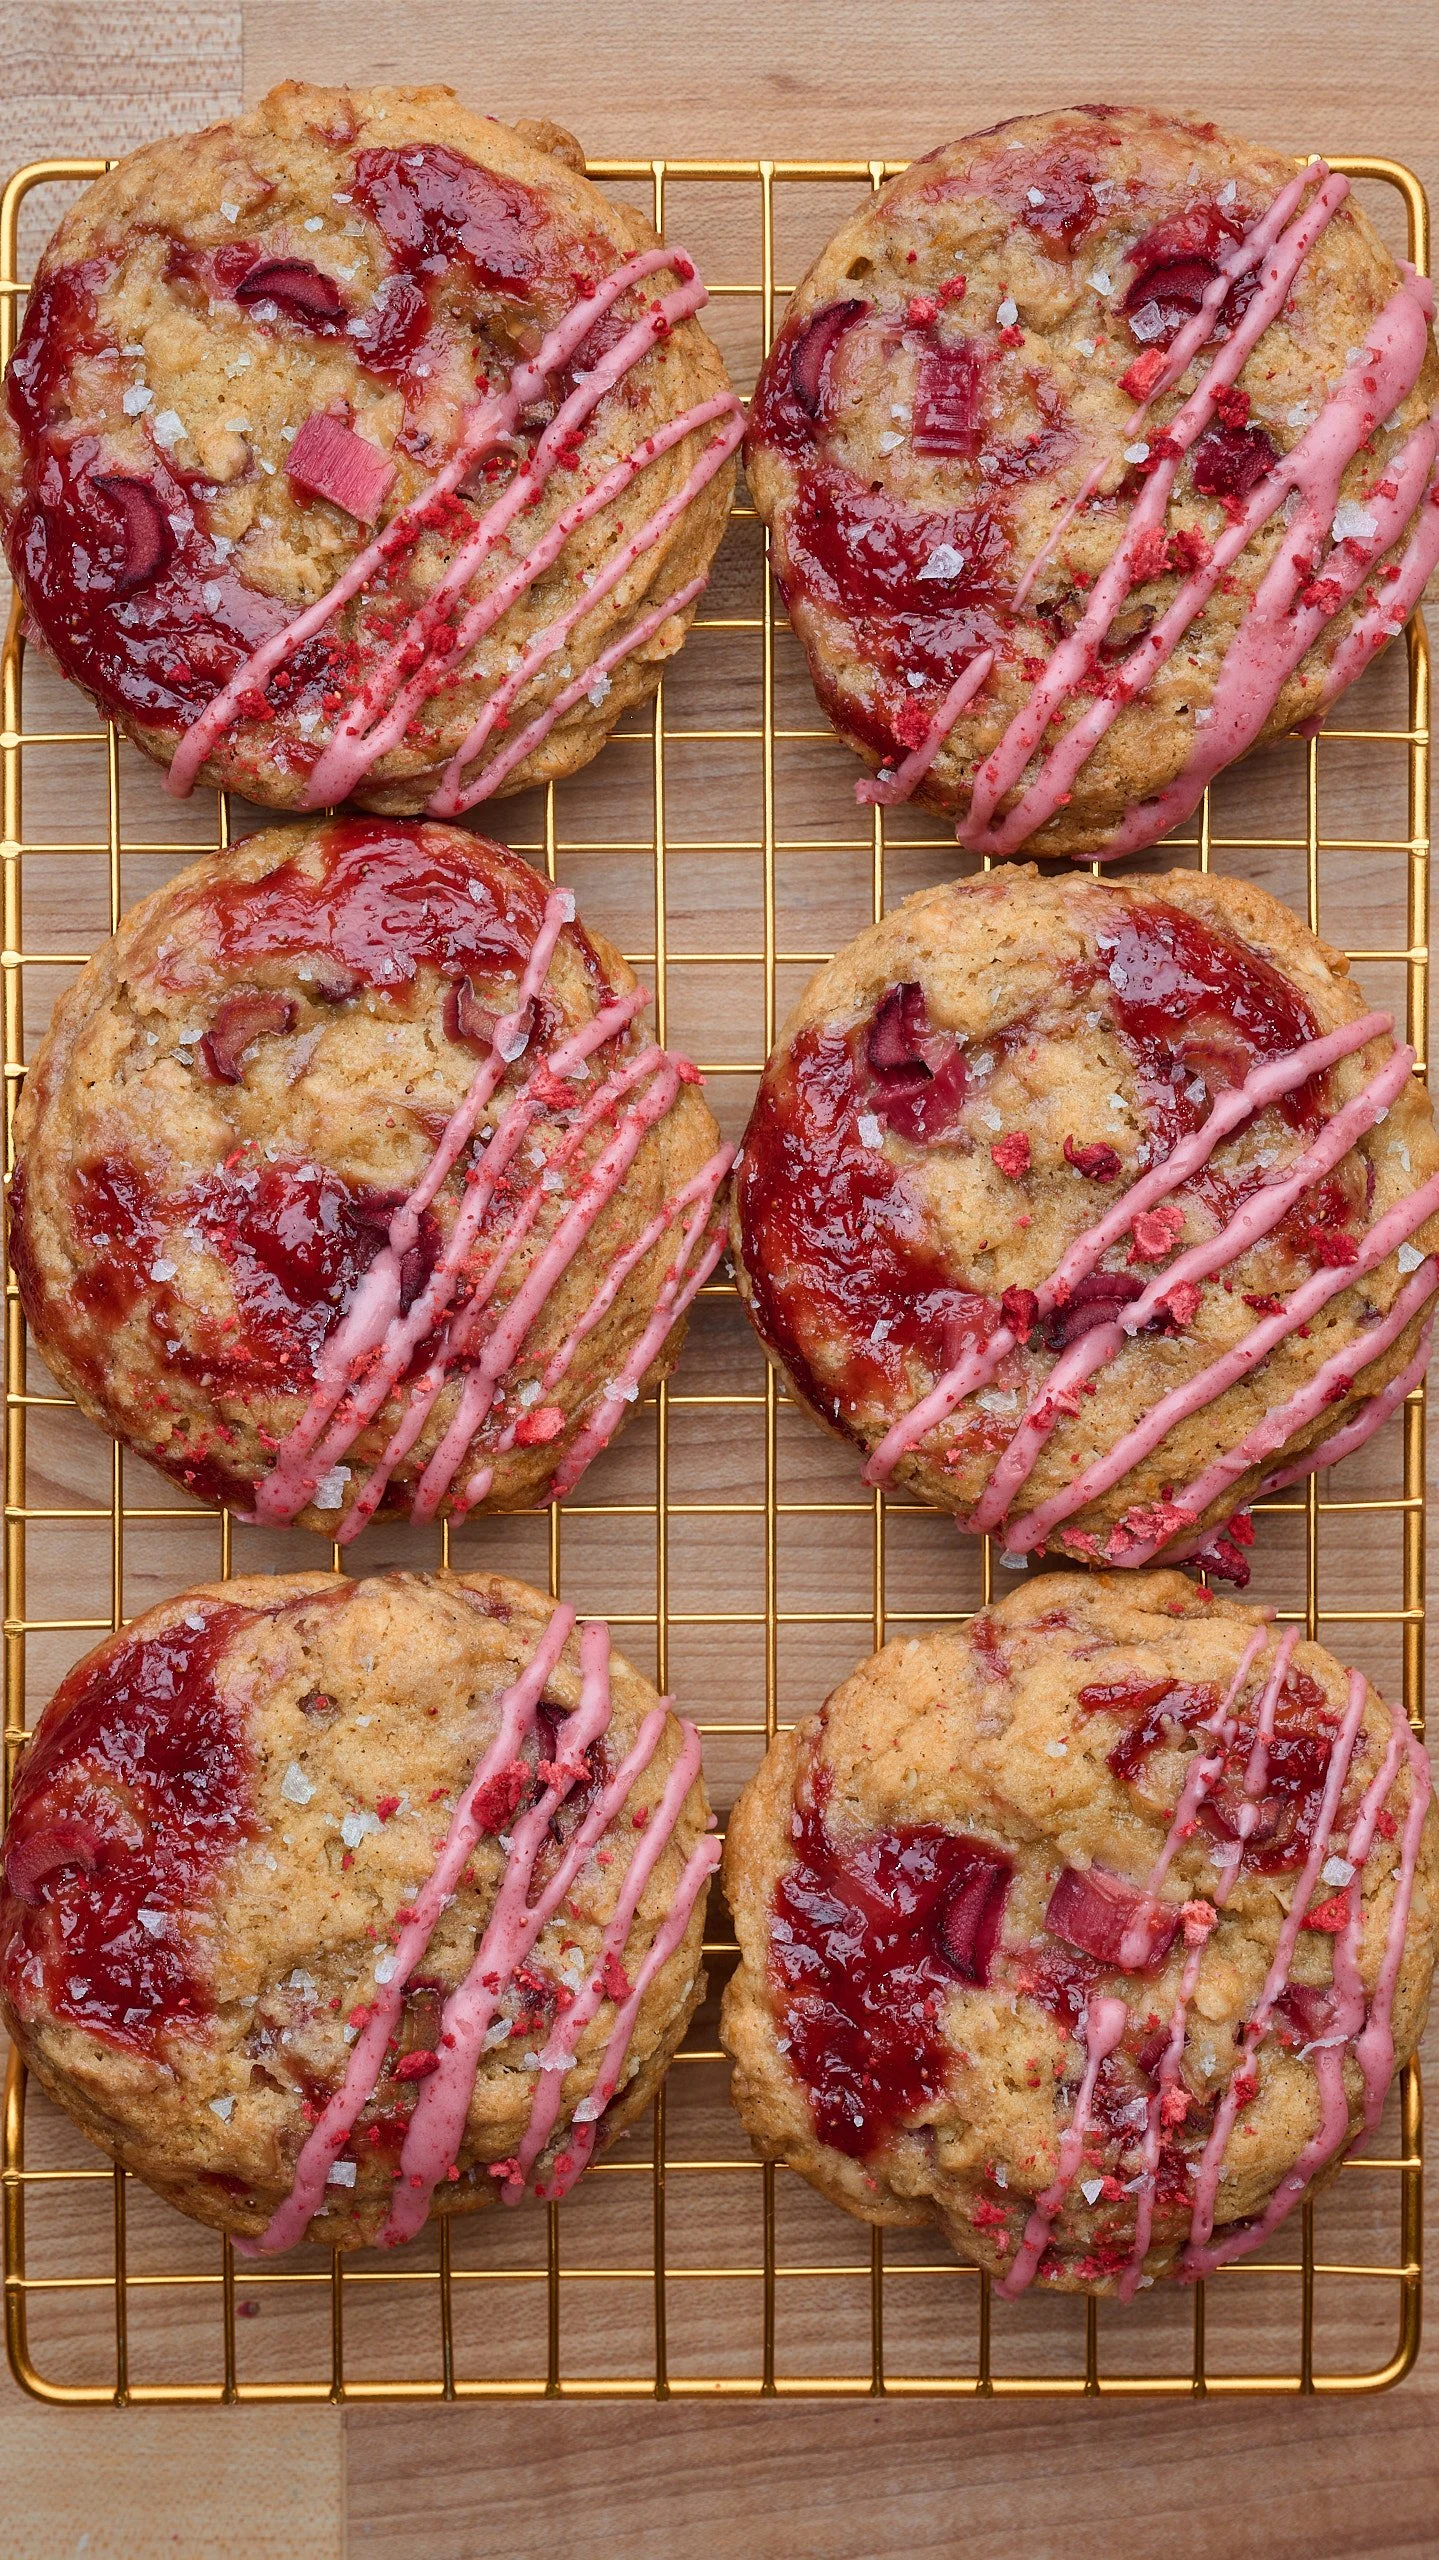
Strawberry Rhubarb Oat Crisp Cookies
Yields 10-12 large cookiesNOTE: The macerated rhubarb and jam both need time to sit and chill (about 1 hour combined), so plan accordingly — or make them the day before if desired. The cookie dough also chills for 1 hour before baking for the best thick, chewy texture.
This recipe was hard fought. Turns out, getting a cookie that’s buttery and fudgy while adding a bunch of fruit is very challenging. Fruit brings a ton of moisture to cookie dough, which usually means cakey cookies…and that is never my preference. I want crisp edges, soft gooey centers, and a chewy texture.
The key was controlling the moisture. First, fresh rhubarb gets macerated, which is a fancy way of saying it’s tossed with sugar to draw out excess liquid while keeping that fresh, tart flavor intact. Then strawberries and more rhubarb get cooked down into a super thick jam that’s barely folded through the dough, creating jammy pockets throughout the cookies.
One of my biggest pet peeves is when strawberry rhubarb desserts only taste like strawberry. Not these. The rhubarb actually comes through and balances the rich, brown sugar oat cookies perfectly. They bake up sweet, tart, gooey, and crisp-edged…exactly as I hoped they’d be.
WHAT YOU’LL NEED
-
![Aluminum half sheet trays nordic ware sheet trays best sheet pans amazon best sheets trays amazon best cookie sheets]()
Sheet Trays
-
![Oxo good grips everyday spatula on amazon best silicone spatula best rubber spatula for cooking]()
Spatula
-
![Oxo Stainless Steel Eleven Inch Whisk on Amazon best stainless steel whisk best kitchen whisk]()
Whisk
-
![Saucepan on amazon best chocolate rolls recipe best chocolate rolls]()
Small Saucepan
-
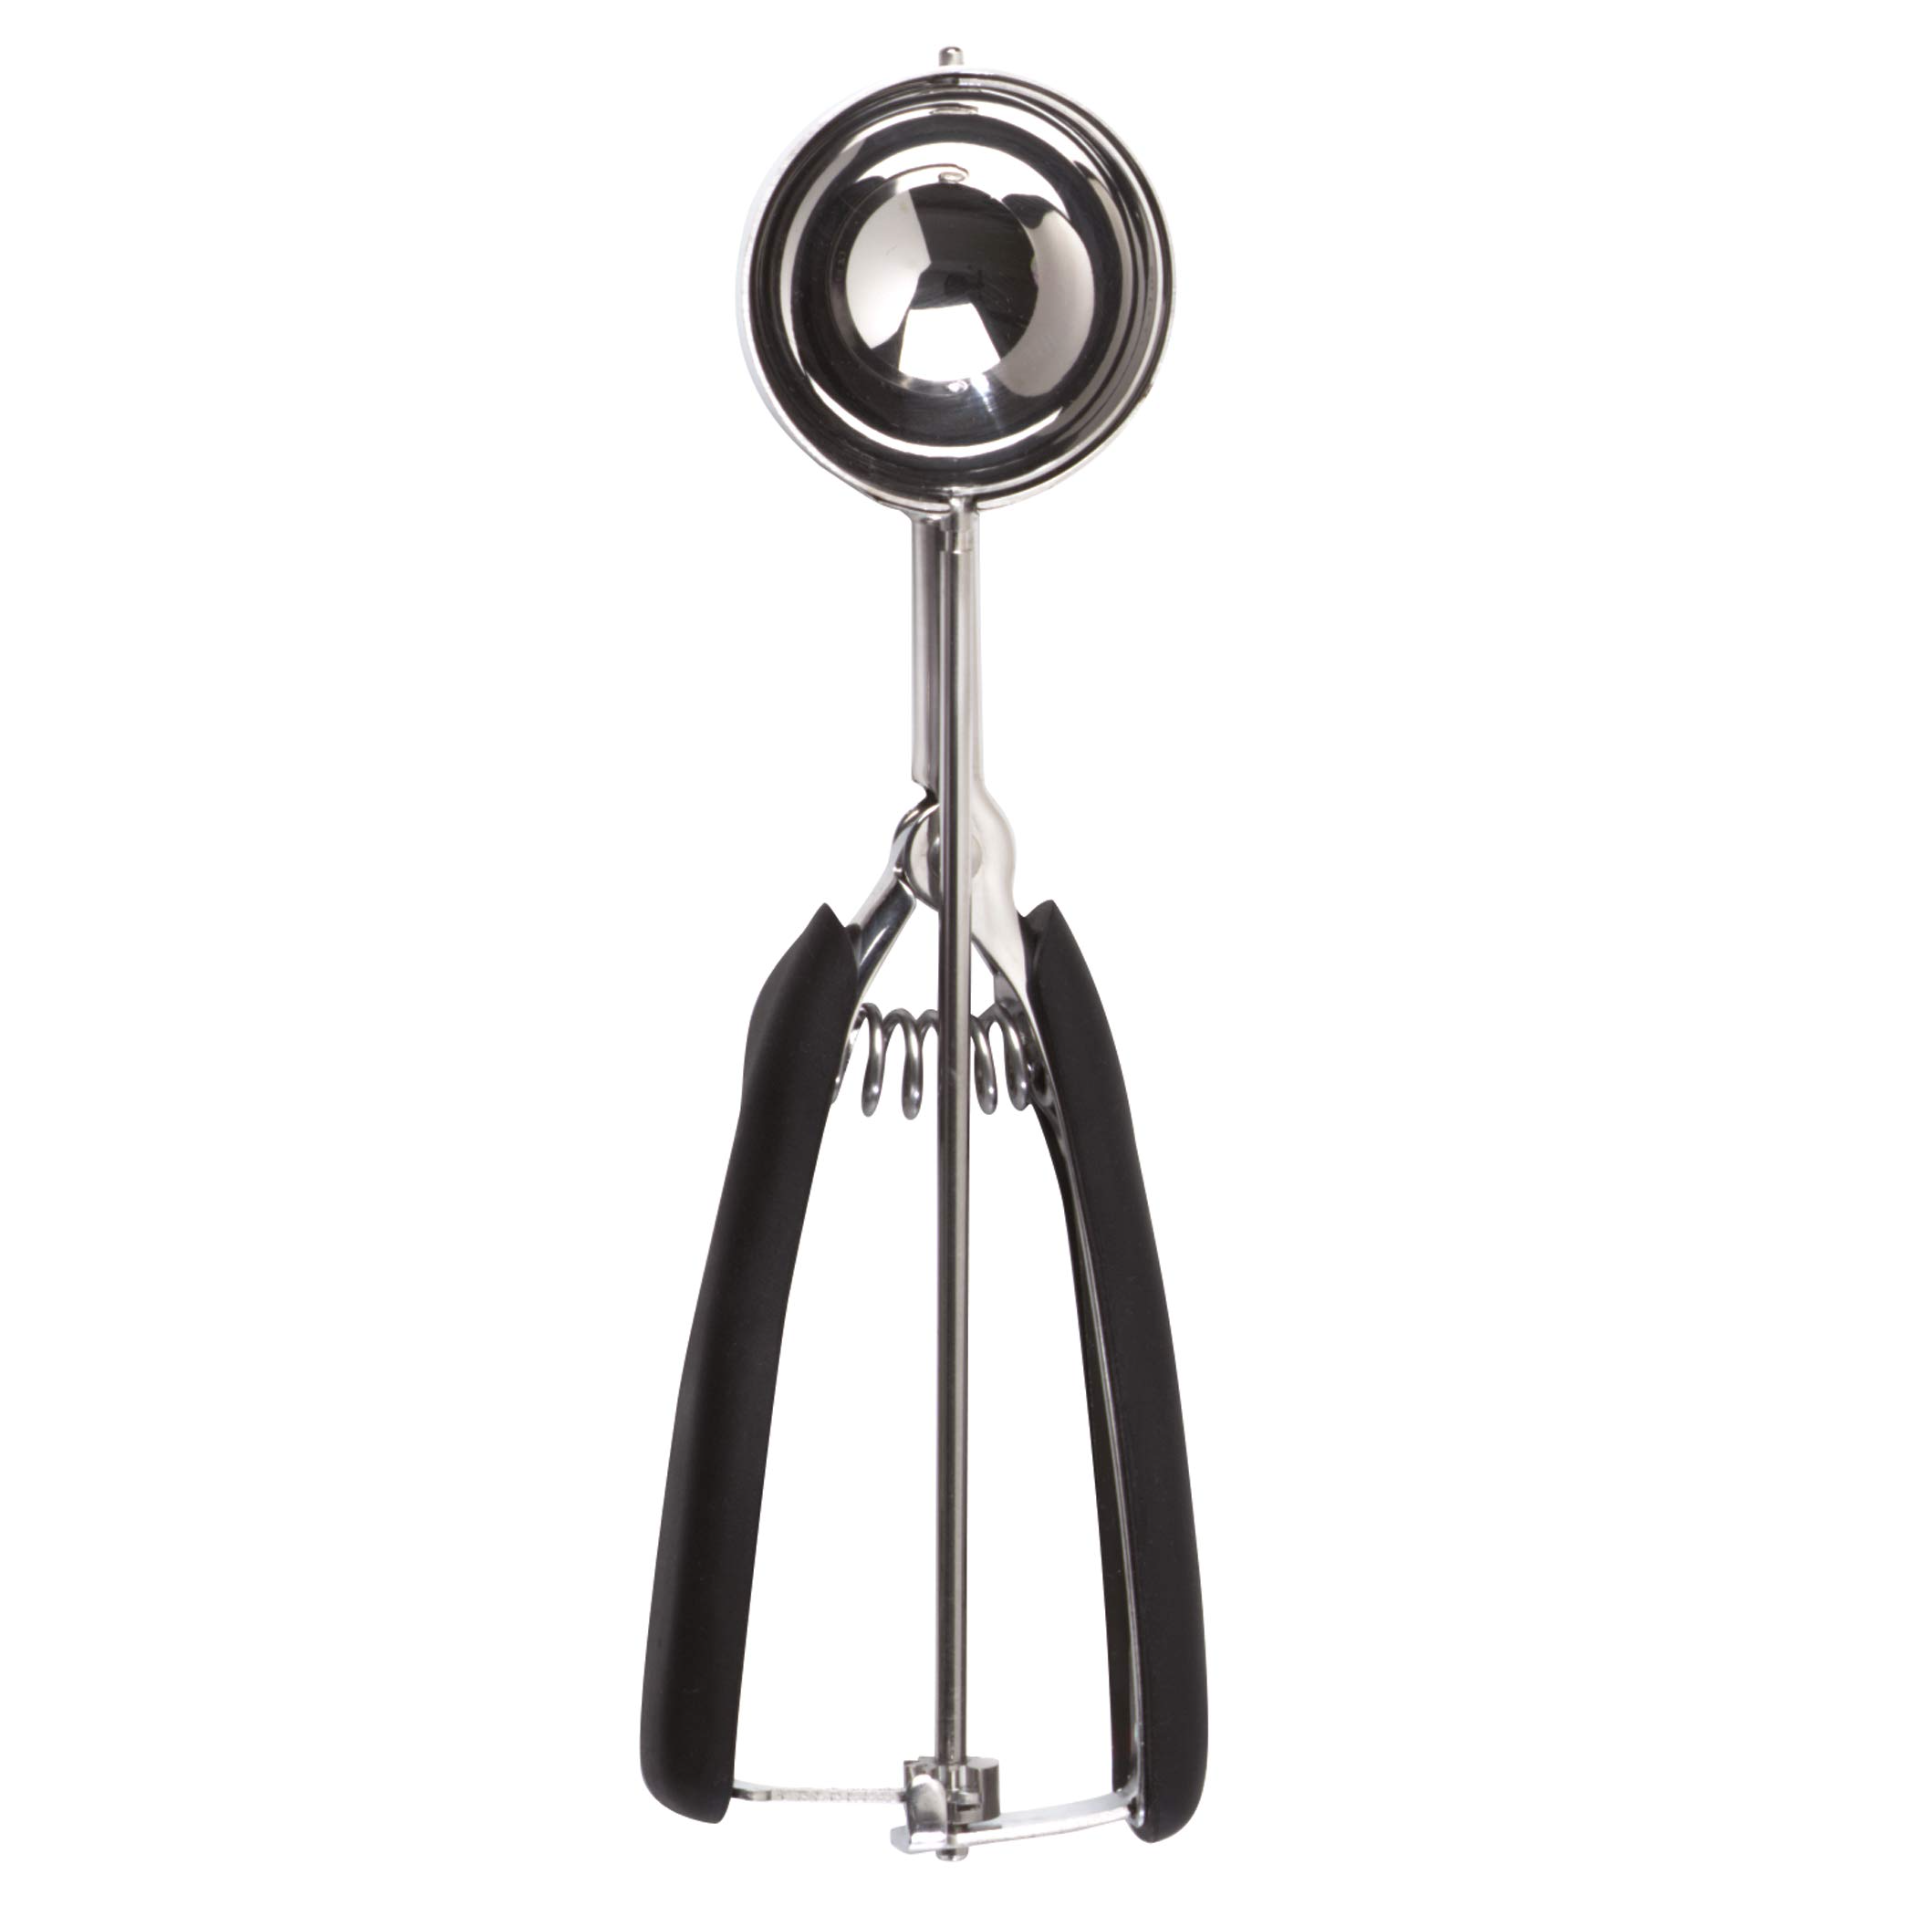
![oxo good grips large cookie scoop ice cream scoop stainless steel scoop and wiper]()
Large Cookie Scoop


INGREDIENTS
Macerated Rhubarb
½ cup diced rhubarb (70 g)
1 tbsp granulated sugar (12 g)
Strawberry-Rhubarb Jam
1 cup quartered fresh strawberries (170 g)
1 cup diced rhubarb (140 g)
½ cup granulated sugar (100 g)
¼ tsp kosher salt
1 tsp lemon juice
1 ½ tsp cornstarch
1 ½ tsp cold water
½ tsp vanilla extract
Oat Cookie Dough
1 ¾ sticks unsalted butter (14 tbsp), melted and slightly cooled (198 g)
1 ¼ cups packed light brown sugar (250 g)
¼ cup granulated sugar (50 g)
1 tbsp lemon zest
2 large egg yolks
2 tsp vanilla extract
2 cups all-purpose flour (280 g)
½ cup old-fashioned rolled oats (50 g)
½ tsp baking powder
½ tsp baking soda
1 tsp kosher salt
Optional Strawberry-Rhubarb Glaze
Reserved rhubarb syrup from the macerated rhubarb
1-2 tsp milk
Powdered sugar, as needed, until a thick drizzle-able consistency forms
Freeze-dried strawberry powder, if desired, for color and flavor
To make: blitz freeze-dried strawberries in a food processor and sift to remove larger pieces
DIRECTIONS
Make the Macerated Rhubarb
In a small jar or bowl, toss the rhubarb with the sugar until evenly coated.
Let sit for 1 hour, then drain thoroughly and pat very dry with paper towels.
Optional: Save the strained rhubarb syrup and whisk it with powdered sugar to make a simple glaze for the finished cookies.
Make the Strawberry Rhubarb Jam
In a small saucepan, combine the strawberries, rhubarb, sugar, salt, and lemon juice.
Cook over medium heat for 15–18 minutes, stirring frequently, until the mixture becomes very thick and jammy. There should be no loose or watery liquid pooling around the fruit.
In a small bowl, whisk together the cornstarch and cold water.
Stir the slurry into the jam and cook for 2 minutes more, until glossy and thickened.
Remove from the heat and stir in the vanilla extract.
Important: The jam must be very thick before it goes into the cookie dough. Loose or saucy jam will add excess moisture and can cause the cookies to spread flat. When chilled, the jam should be scoopable and mound on a spoon, not run or drip. If in doubt, cook it a few minutes longer.
Transfer the jam to a freezer-safe bowl or shallow container and freeze for 20–30 minutes, stirring once halfway through, until cold, thick, and scoopable.
You should have about ⅔ cup thick jam. Use about ½ cup thick chilled jam in the cookie dough. Reserve any extra for serving, glazing, or another use.
Chill & Bake the Cookies
In a large mixing bowl, whisk together the melted butter, brown sugar, granulated sugar, and lemon zest until combined.
Add the egg yolks and vanilla extract and whisk until glossy and smooth.
Add the flour, oats, baking powder, baking soda, salt, and strained macerated rhubarb. Gently toss the rhubarb with the flour mixture before you fold to help prevent soggy pockets in the dough.
Fold until no dry streaks of flour remain. The dough will be very thick.
Add about half of the chilled jam in small spoonfuls across the surface of the dough. Using a spatula, gently fold the dough over the jam just until the spoonfuls are mostly covered. Do not fully mix.
Dollop the remaining jam across the surface of the dough. Do not fold again. These visible jam spoonfuls should be the first part scooped, so they end up on top of the cookies.
Using a large cookie scoop, scoop through the jam-topped surface, making sure each scoop catches some jam on top while the bottom of each dough ball is mostly plain cookie dough. Jam on the bottom can burn during baking.
You should end up with 10-12 large cookies. Place the cookie dough balls on a parchment lined sheet tray.
Chill the cookie dough balls in the fridge for 1 hour.
Preheat the oven to 350°F (175°C). Line two baking sheets with parchment paper. Arrange the chilled cookies several inches apart to allow for spreading.
Bake for 20–22 minutes (smaller cookies will bake faster), until the edges are golden brown and the tops look matte and no longer wet. The cookies will continue to firm up as they cool.
Let cool on the baking sheet for 15–20 minutes before transferring to a wire rack. For the best texture, let the cookies cool for about 1 hour before serving to allow the centers to fully set.
If desired, top with a drizzle of strawberry-rhubarb glaze once cool.
RECIPE NOTES & TIPS
Chilling the dough is important because it helps prevent excess spreading, resulting in thicker cookies. However, if you’re in a pinch, you can skip the chill time and bake immediately — the cookies will still be delicious, just slightly thinner.
For perfectly round cookies, use a large round cookie cutter or glass to gently scoot the cookies into shape right after baking, before they fully set.
If making smaller cookies, they will likely bake faster than the directed time. Start checking them a few minutes early.
I tested these with store-bought jam, but because most jams are much looser in texture, the cookies spread too much and baked into little puddles. I highly recommend making the homemade jam here since it’s intentionally cooked very thick for cookies. If you do substitute store-bought jam, look for one with a very thick consistency.
Cooling time is essential with thick cookies like these. If you break into them straight from the oven, the centers will seem underdone and the edges won’t have time to crisp up properly. I like to let them cool for about 1 hour before eating.
To be precise and consistent when baking, I recommend using a Digital Food Scale. The one I linked is relatively inexpensive and in my opinion, a great investment for any home kitchen! But if you don’t have one, I’ll always include cup measurements as well.