3 Classic French Tart Crusts
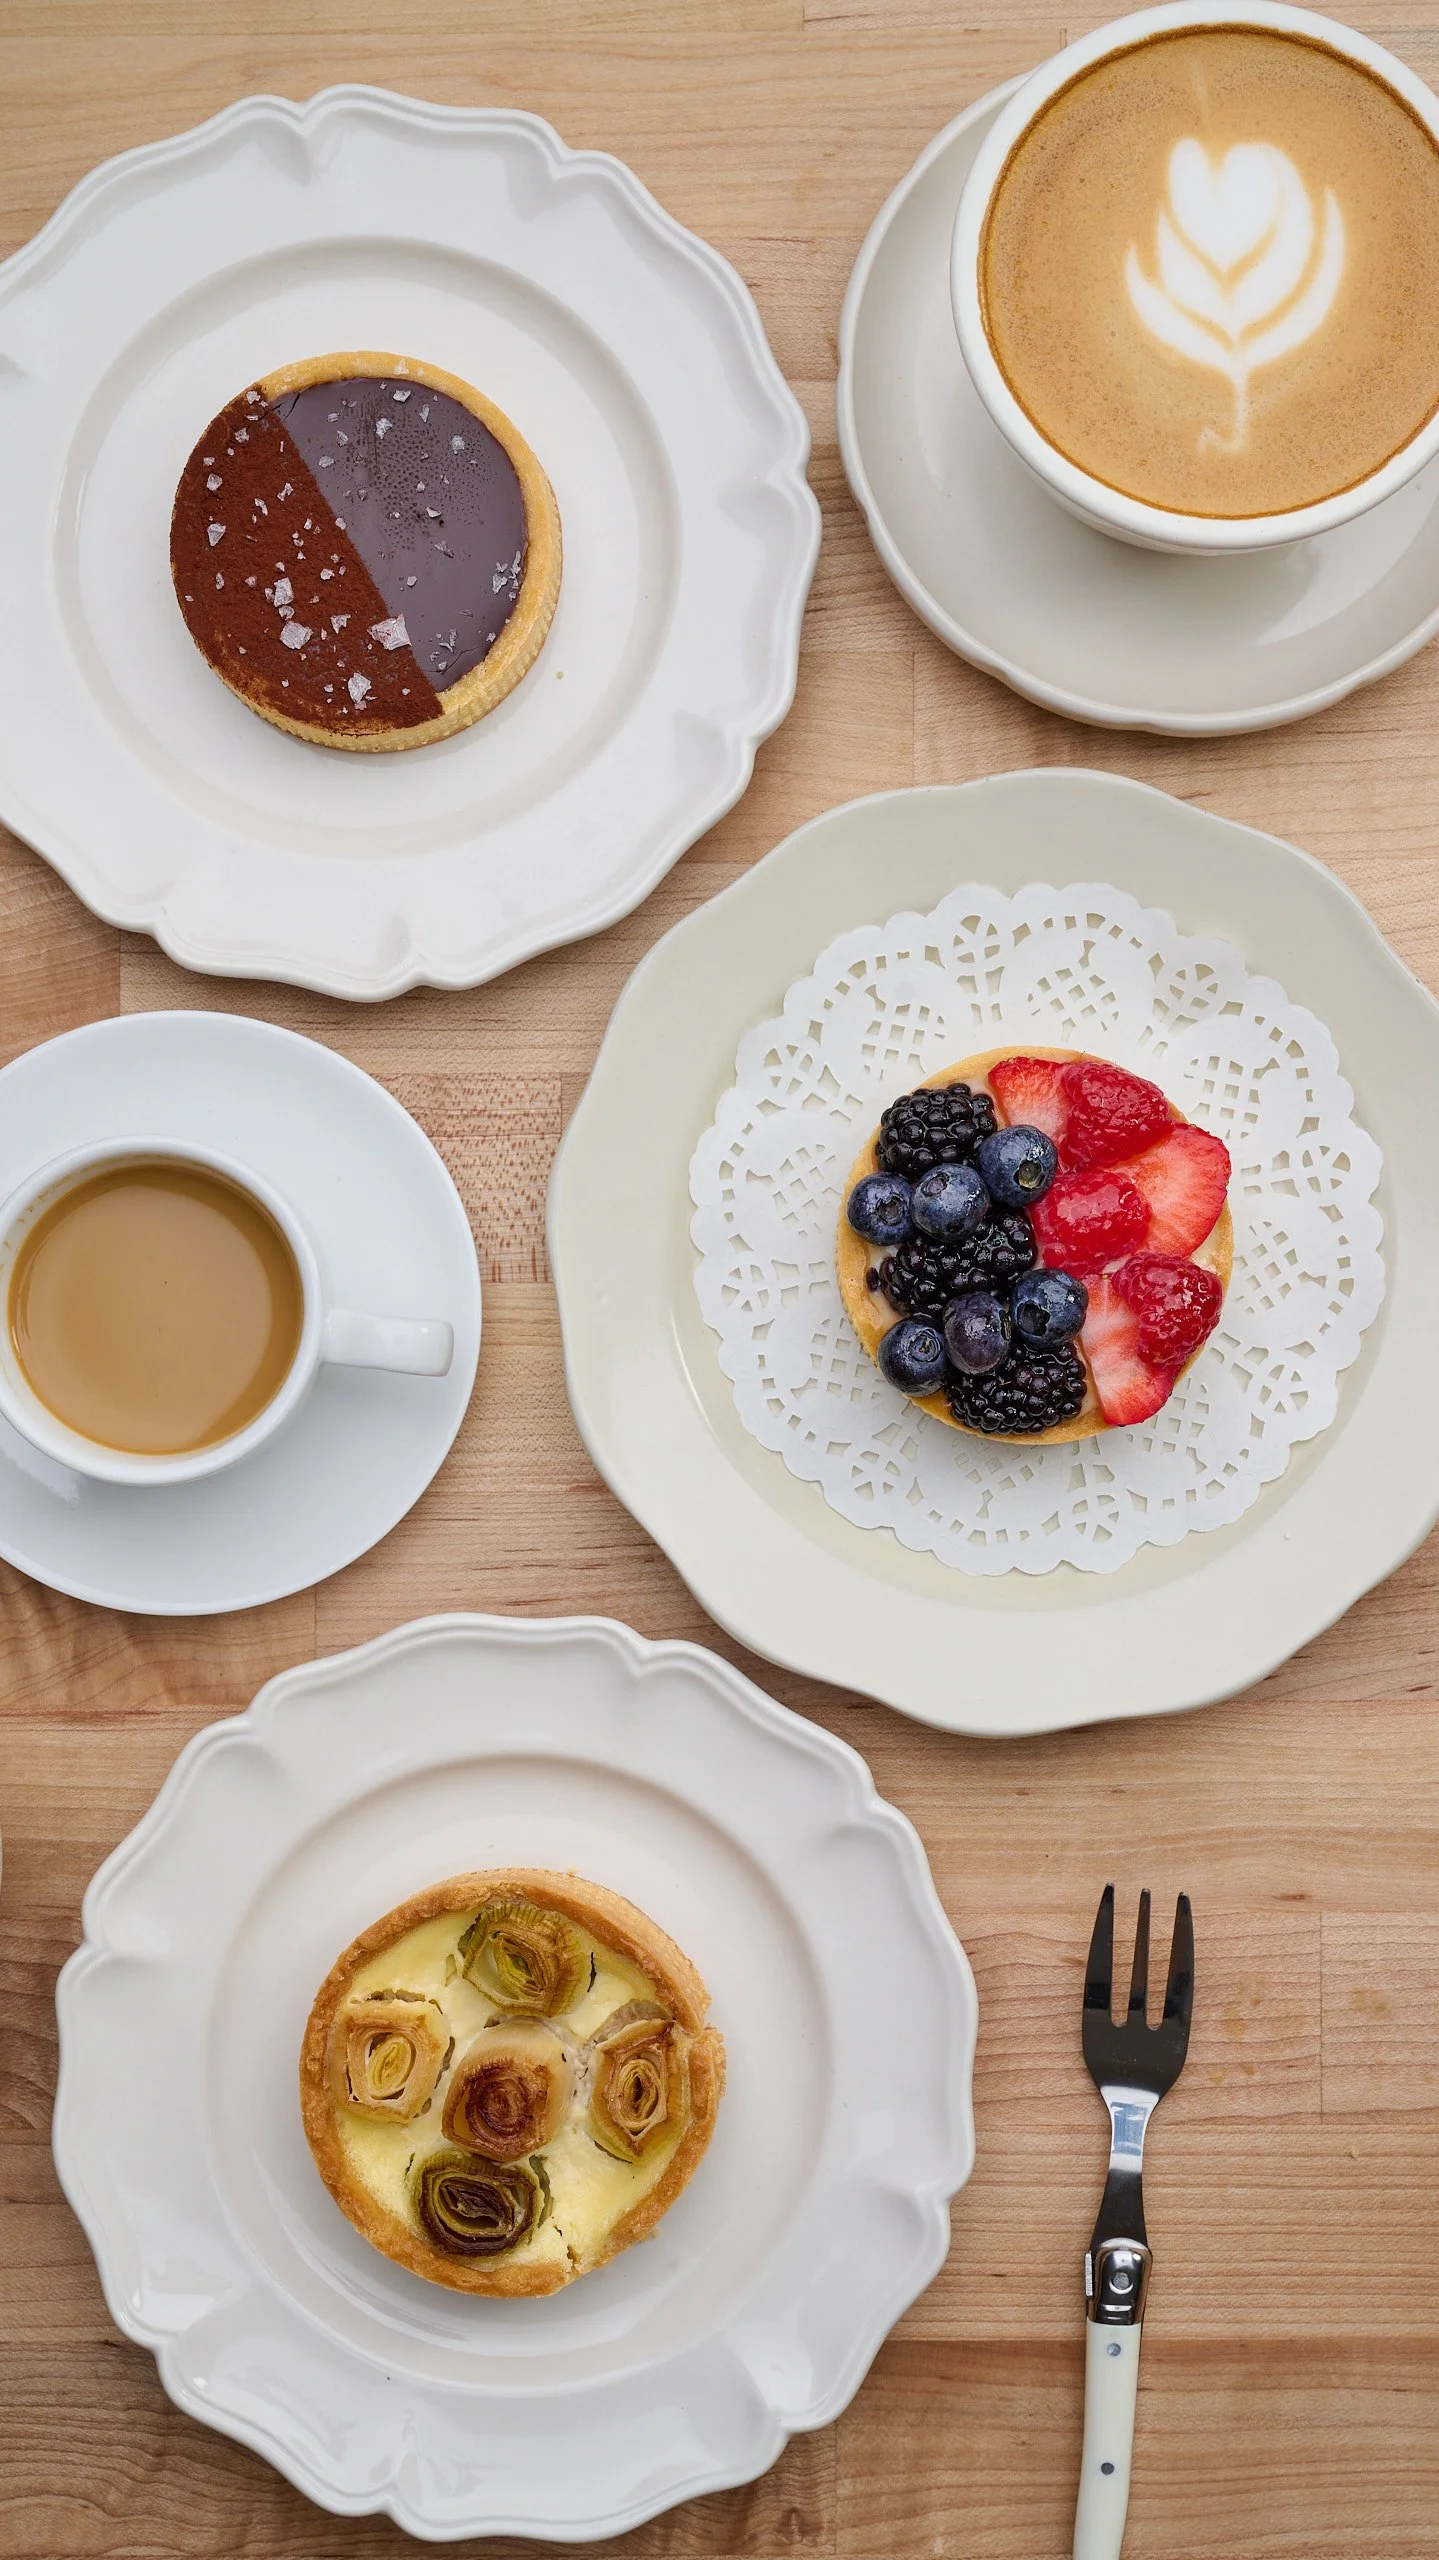
EACH RECIPE MAKES ONE 9- TO 10-INCH TART SHELL OR SIX 3-INCH TART SHELLSThis guide covers three classic French tart doughs: pâte brisée, pâte sucrée, and pâte sablée. They use many of the same ingredients, but differences in sweetness, richness, and how the butter is incorporated give each crust its own distinct texture and purpose.
Below you’ll find all three dough recipes, followed by instructions for rolling, shaping, and blind-baking polished tart shells.
Which Tart Crust Should You Use?
Pâte Brisée (“Broken Dough”): The least sweet and flakiest of the three. Cold butter is worked into the flour only until small pieces remain, much like making pie dough. Those pieces of butter create a light, flaky texture when baked. Best for savory tarts, quiche, and fruit fillings baked directly in the crust.
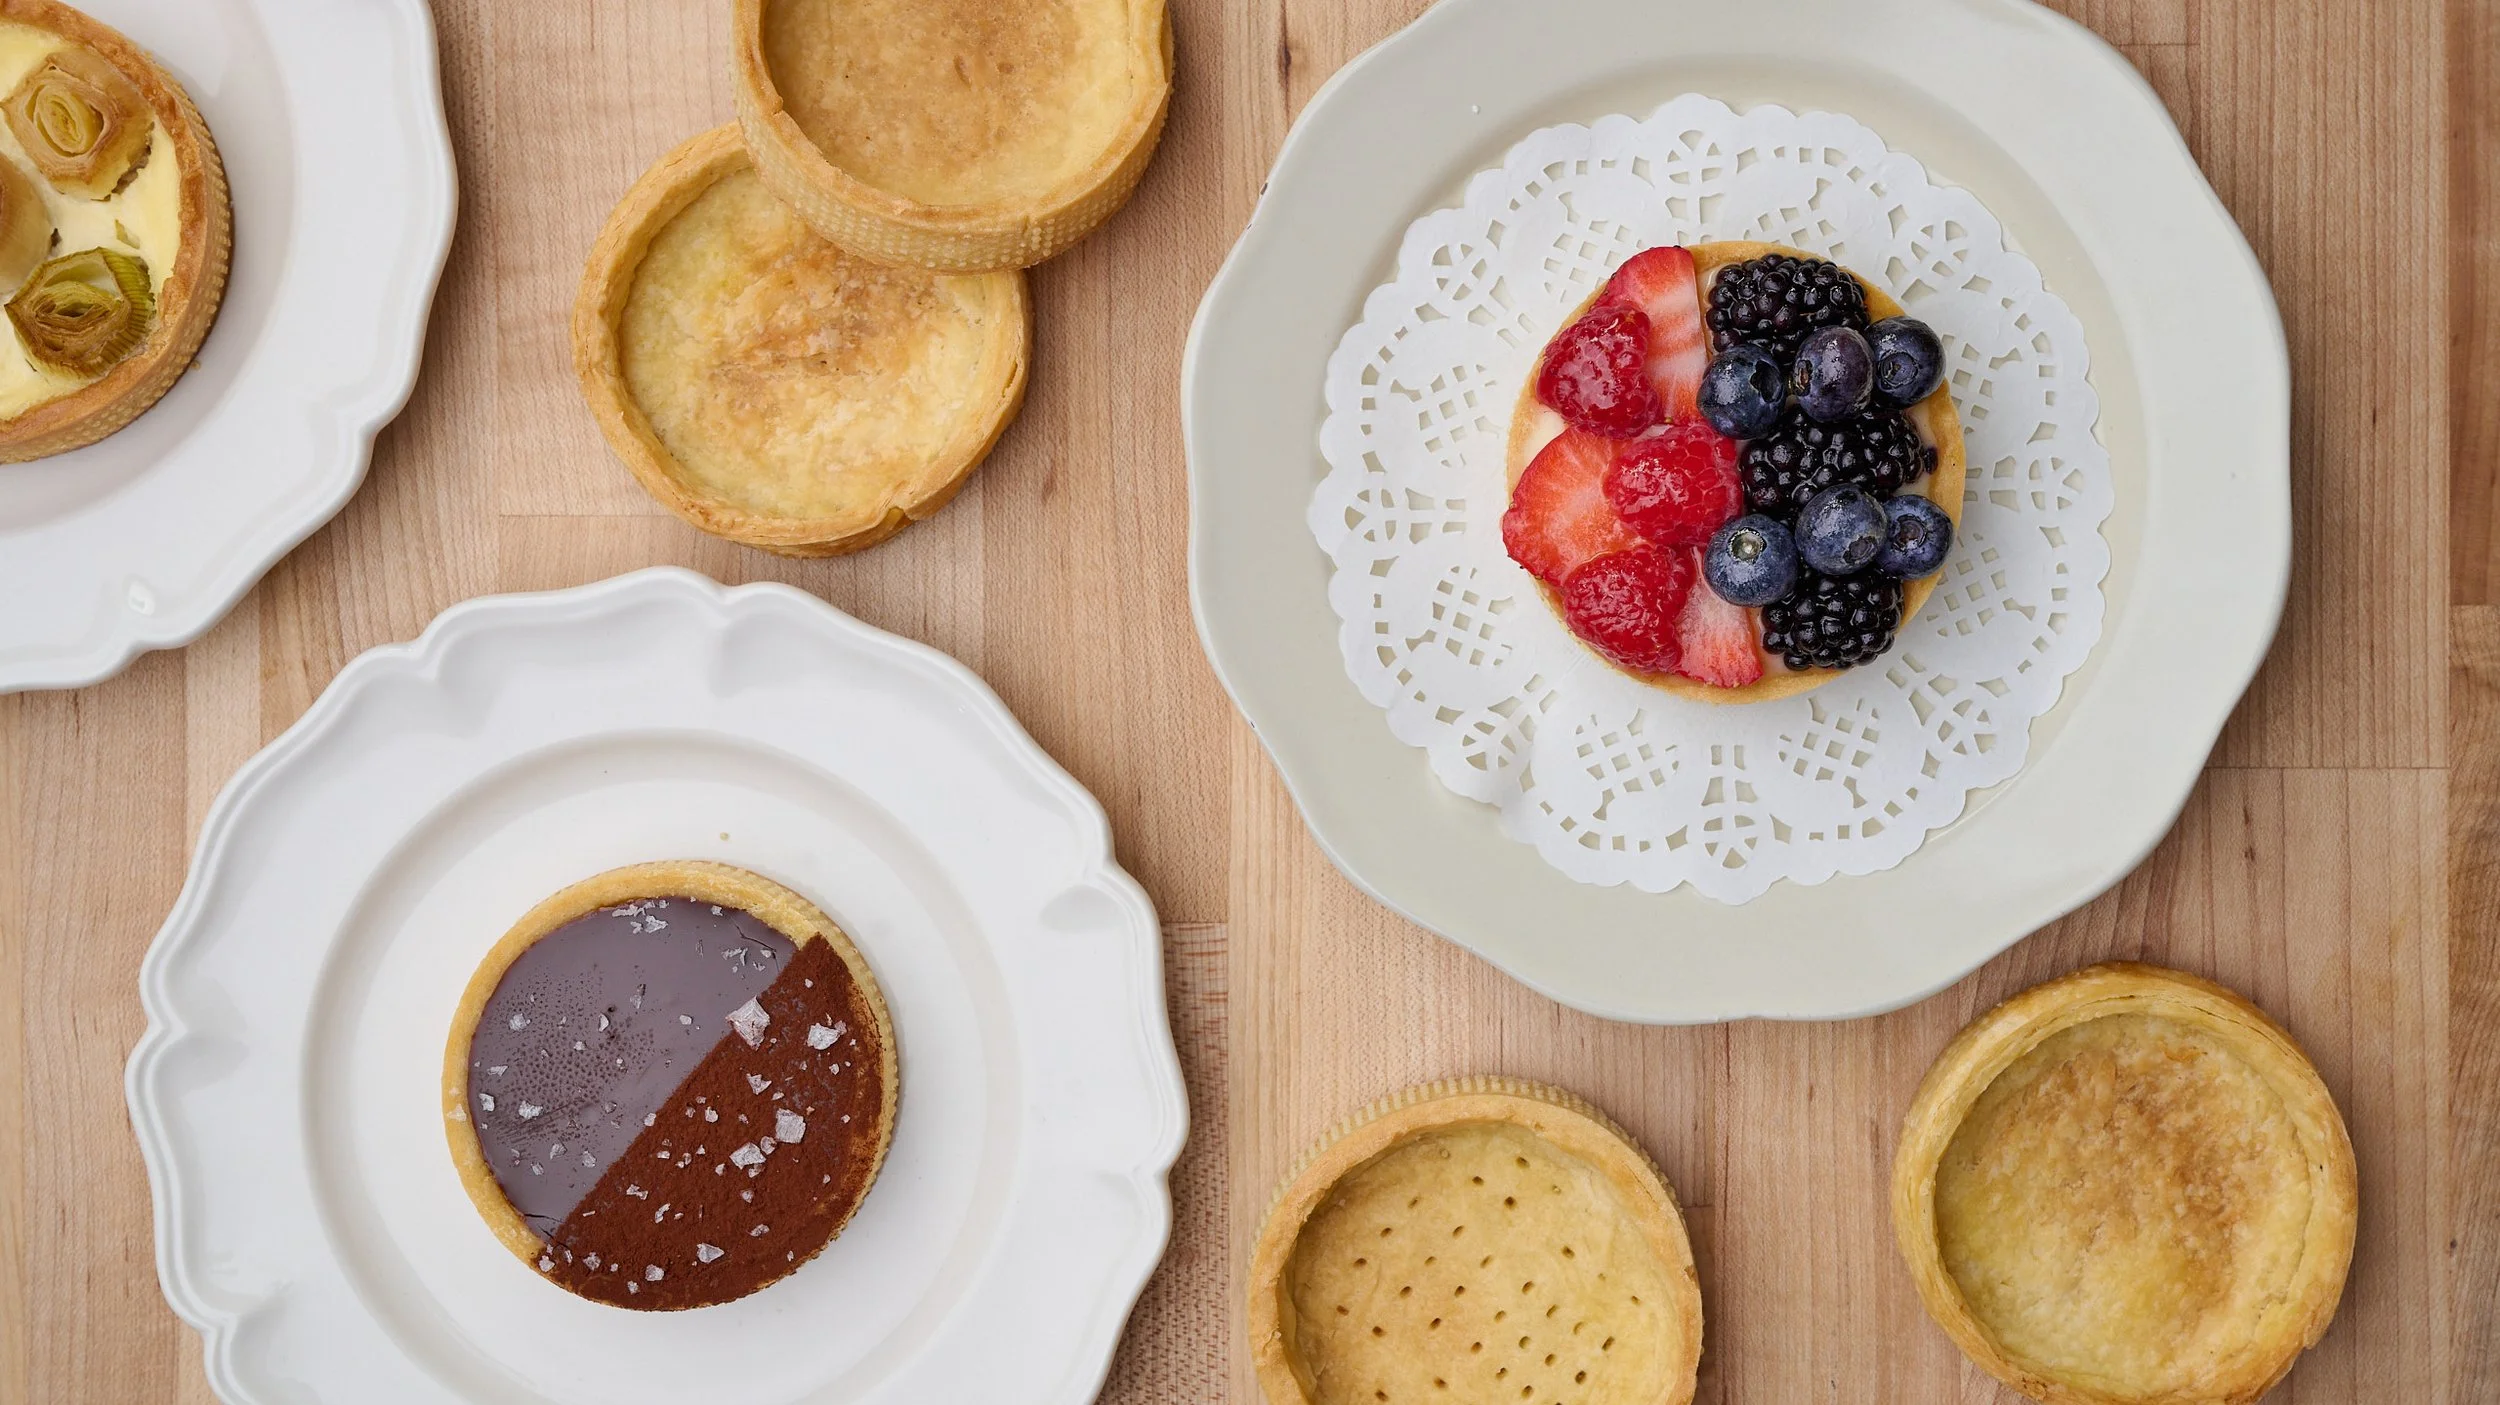
Pâte Sucrée (“Sweet Dough”): Sweet, crisp, and the most structured of the three. Softened butter is mixed with powdered sugar to create a smooth, cookie-like dough that holds clean edges when baked. Best for classic fruit tarts and fillings such as pastry cream, lemon curd, and ganache. This is often my go-to crust for sweet tarts.
Pâte Sablée (“Sandy Dough”): The richest, sweetest, and most delicate of the three. Cold butter is worked completely into the dry ingredients, creating a sandy, shortbread-like texture with a delicate, crumbly bite. It is especially well suited to individual dessert tartlets and fillings such as chocolate, caramel, and fruit.
WHAT YOU’LL NEED
-
![9 inch tart pan tart ring perforated tart ring baking tart rings tart pans nice inches]()
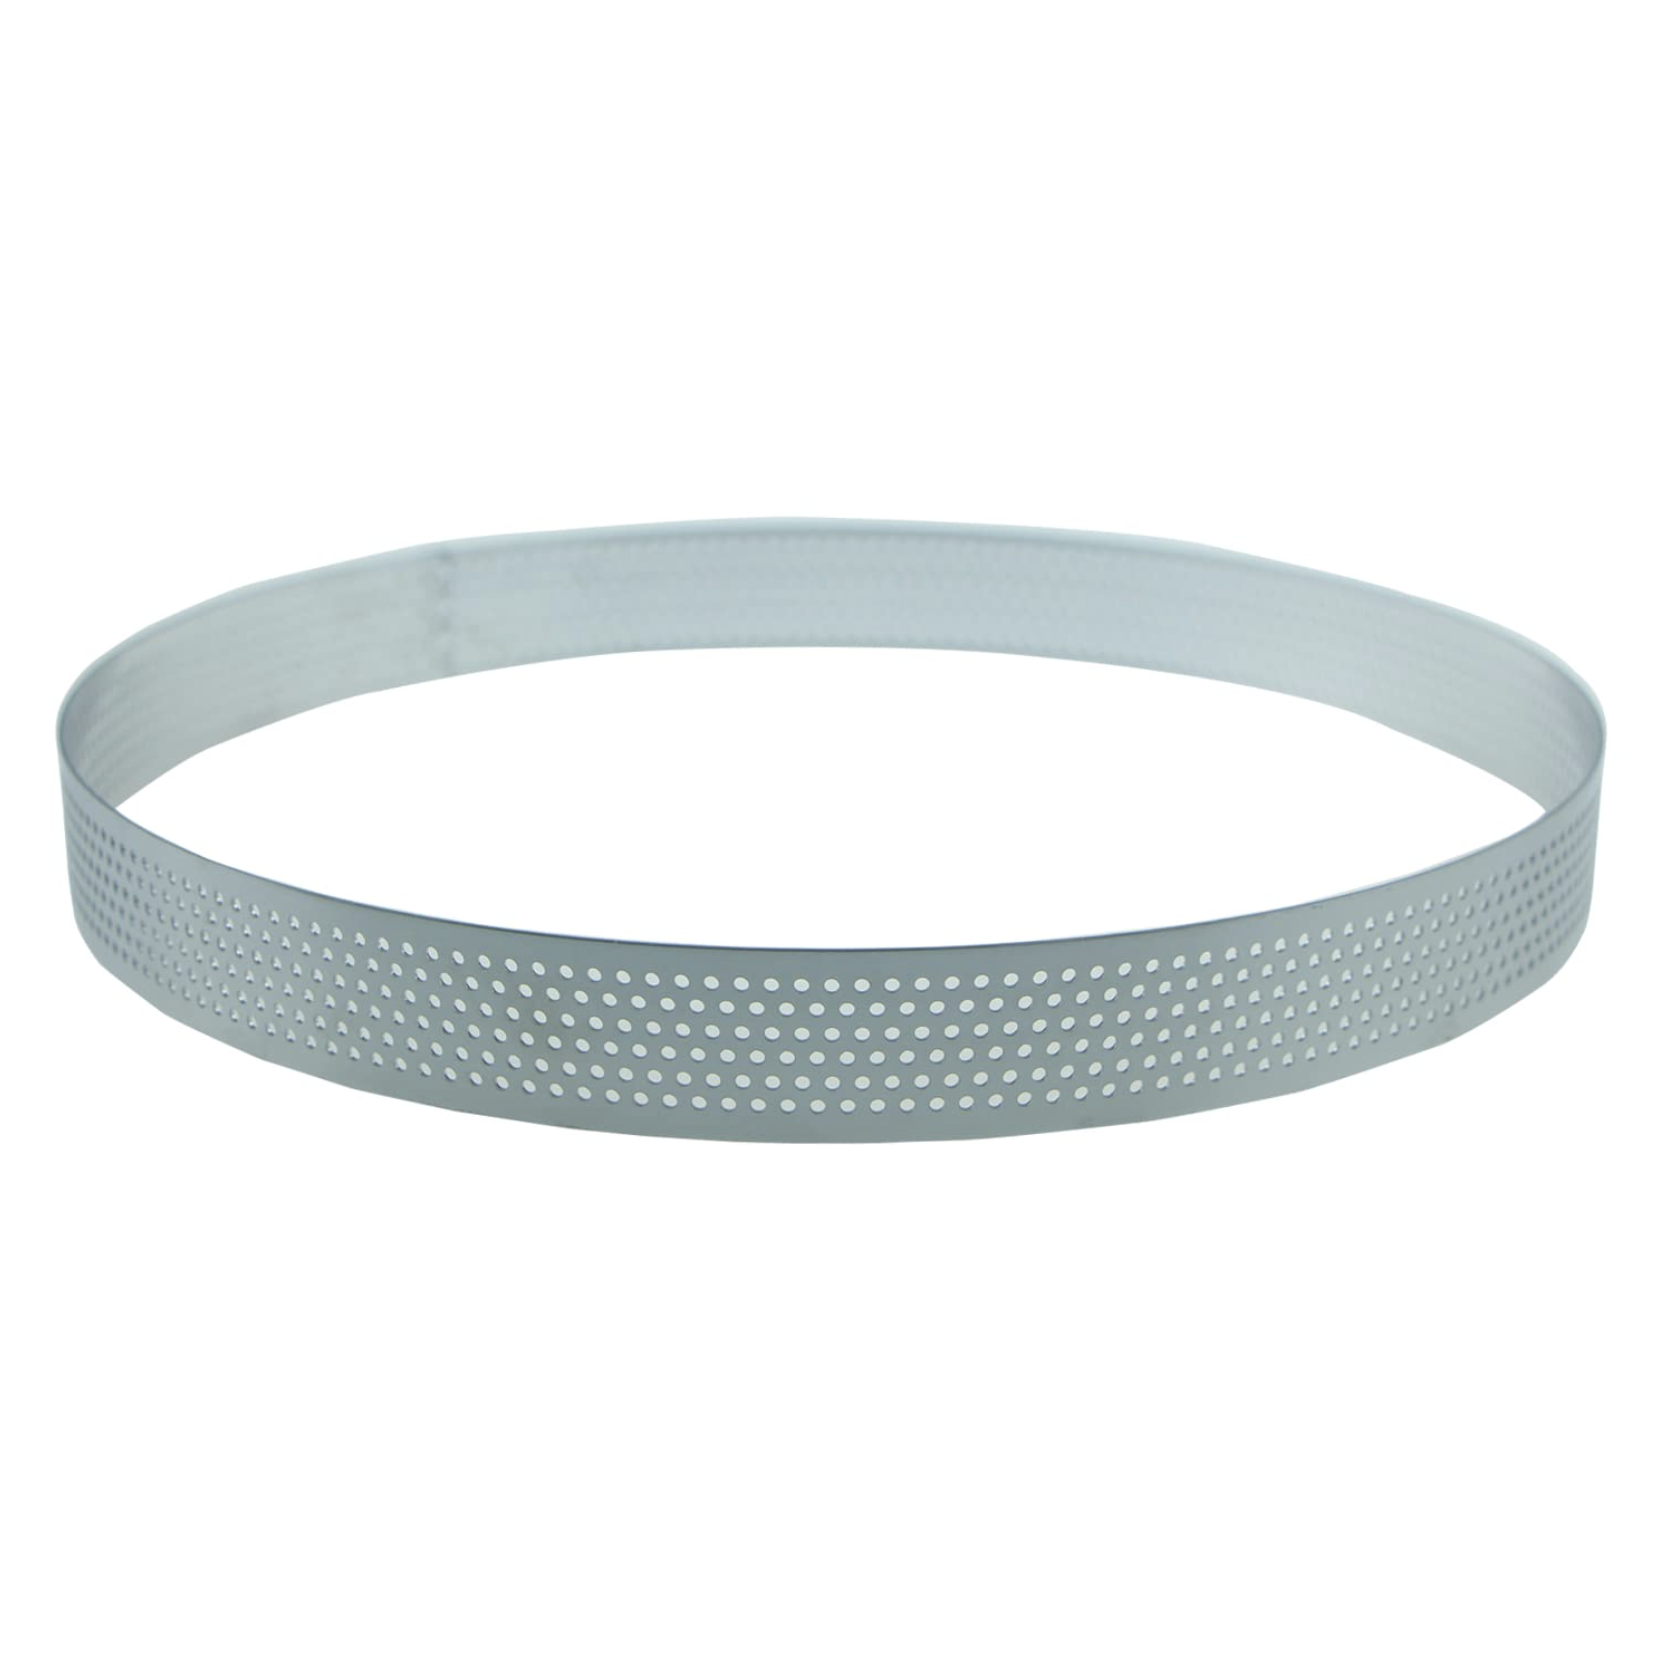
9" or 10" Tart Pan or Ring
-
![3 in perforated tart rings mini tart rings best tart rings amazon]()
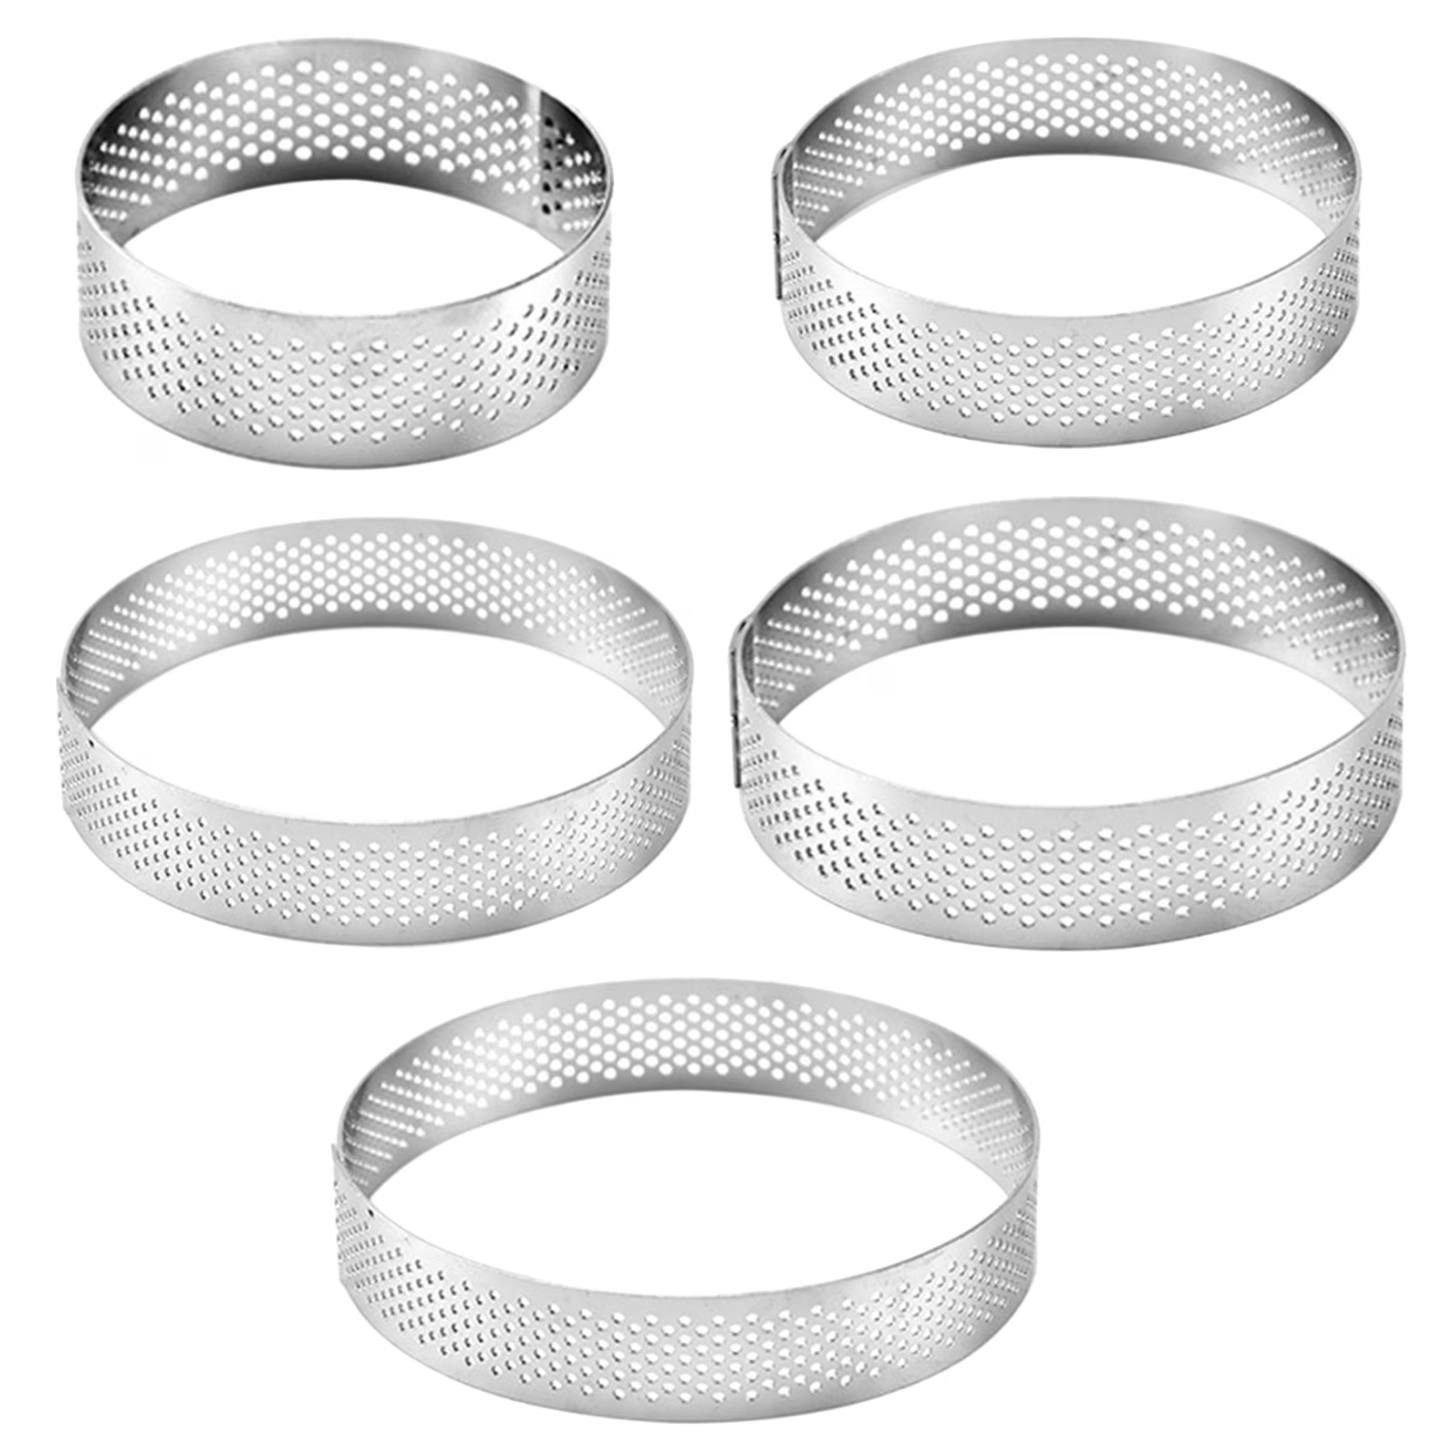
3" Perforated Tart Rings
-
![Oxo good grips everyday spatula on amazon best silicone spatula best rubber spatula for cooking]()
Spatula
-
![Oxo Stainless Steel Eleven Inch Whisk on Amazon best stainless steel whisk best kitchen whisk]()
Whisk
-
![Best rolling pin amazon best french rolling pins rolling pin for sale best rolling pin]()
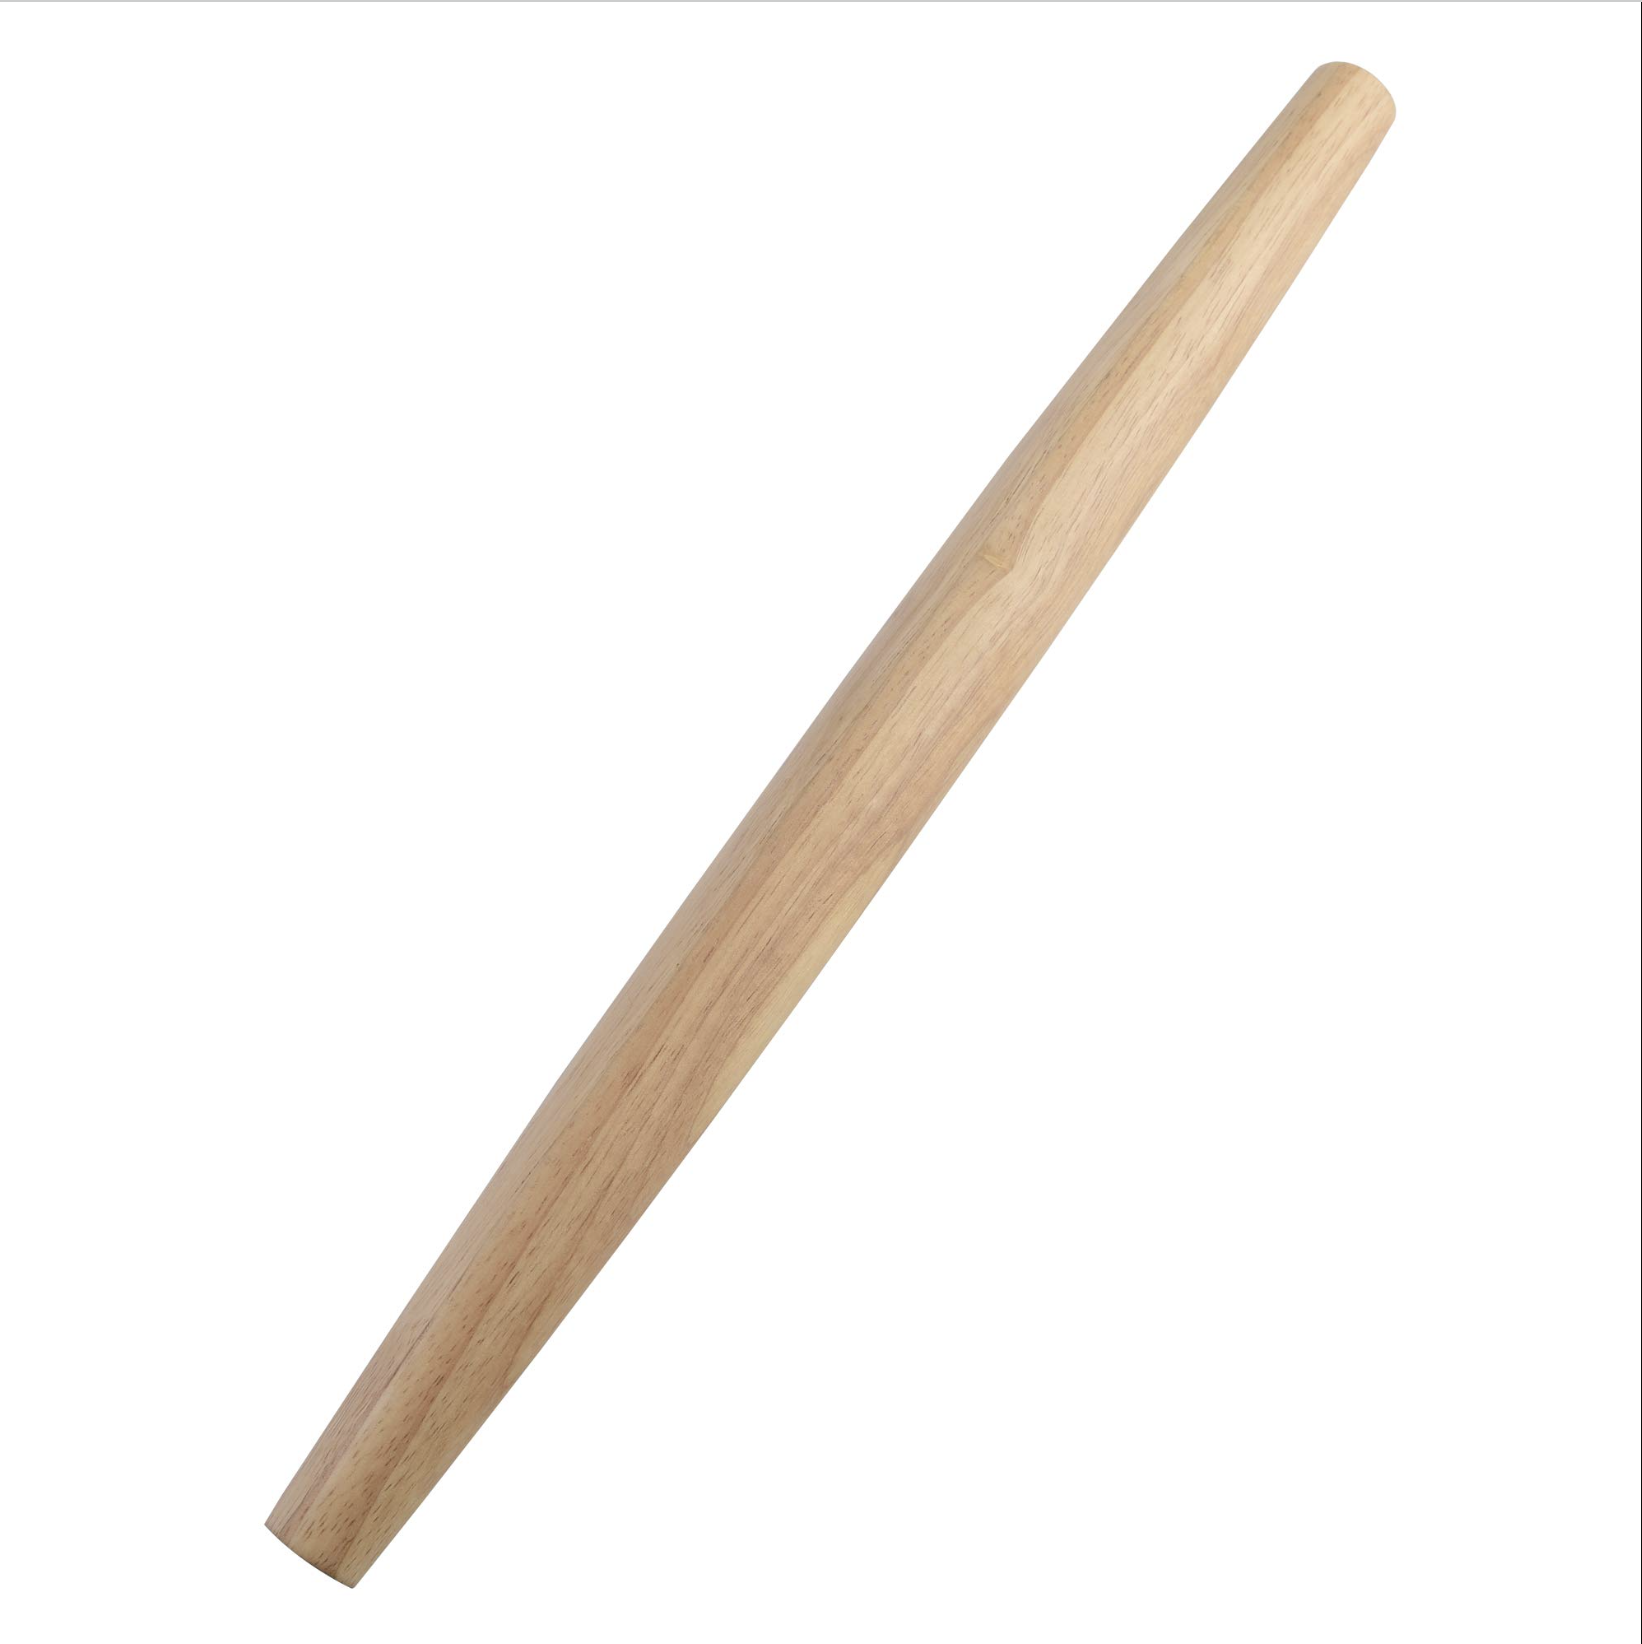
Rolling Pin
-
![Kitchen Aid Five Quart Stand Mixer in Matte Black Finish on Amazon]()
Stand Mixer
-
![Escali Digital Food Scale in Chrome Color on Amazon]()
Digital Kitchen Scale


INGREDIENTS
Pâte Brisée
1 ⅔ cups all-purpose flour (200 g)
1 tsp Diamond Crystal kosher salt or ¾ tsp Morton kosher salt
2 tsp granulated sugar (8 g)
½ cup cold unsalted butter, cubed (113 g)
2 large egg yolks
2 tbsp ice water (30 g), plus more as needed
Pâte Sucrée
½ cup unsalted butter, softened (113 g)
½ cup powdered sugar (60 g)
1 tsp Diamond Crystal kosher salt or ¾ tsp Morton kosher salt
2 large egg yolks, room temp
1 tsp vanilla extract
1 tbsp water (15 g)
1 ⅔ cups all-purpose flour (200 g)
Pâte Sablée
1 ⅔ cups all-purpose flour (200 g)
⅔ cup powdered sugar (80 g)
1 tsp Diamond Crystal kosher salt or ¾ tsp Morton kosher salt
10 tbsp cold unsalted butter, cubed (142 g)
2 large egg yolks
1 tsp vanilla extract
Up to 1 tbsp cold water (15 g), only if needed
DIRECTIONS
To Make Pâte Brisée
Whisk together the flour, salt and sugar.
Add the cold butter. Using a pastry blender or your fingertips, cut the butter into the flour until the mixture resembles coarse breadcrumbs with lentil- to small-pea-size pieces of butter still visible.
Whisk together the egg yolks and 2 tablespoons ice water. Drizzle over the flour mixture and toss gently with a fork until moist clumps begin to form.
Squeeze a handful of dough. If it holds together, it is ready. If it crumbles, add additional ice water 1 tsp at a time. The dough should be shaggy rather than wet.
Press the dough together without kneading and shape it into a flat disc. Wrap and refrigerate for at least 1 hour, preferably 2 hours.
To Make Pâte Sucrée
Using a stand mixer fitted with the paddle attachment or an electric hand mixer fitted with standard beaters, mix the butter, powdered sugar and salt on low speed until combined.
Increase to medium-low and mix until smooth and creamy, 1 to 2 minutes. Do not whip or incorporate excessive air.
Whisk together the egg yolks, vanilla and water. Gradually add this mixture to the butter on low speed, scraping down the bowl as needed.
Add the flour and mix on low just until moist clumps form. If using a hand mixer, switch to a sturdy spatula before adding the flour.
The finished dough will be soft, similar to cookie dough. This is normal. Scrape it directly onto a sheet of plastic wrap and use the plastic to gather and shape it into a flat disc without handling it excessively.
Wrap and refrigerate for at least 1 hour.
To Make Pâte Sablée
Whisk together the flour, powdered sugar and salt.
Add the cold butter. Using a pastry blender or your fingertips, work the butter completely into the dry ingredients until the mixture resembles fine, evenly moistened sand with no visible pieces of butter.
Whisk together the egg yolks and vanilla. Add them to the flour mixture and mix gently until moist clumps begin to form.
Firmly squeeze a handful of dough. If it holds together, it is ready. If it remains dry and crumbly, add cold water 1 teaspoon at a time, using only as much as necessary.
Press the dough together without kneading and shape it into a flat disc. Wrap and refrigerate for at least 1 hour.
ROLL, SHAPE & BAKE THE TART SHELLS
Use the following method for any of the three doughs.
Roll the Dough
If the chilled dough is too firm to roll without cracking, let it stand at room temperature for 5 to 10 minutes, just until pliable.
Place the dough between two large sheets of parchment paper and roll it to an even ⅛-inch thickness (3mm). The parchment prevents the dough from sticking and tearing without requiring additional flour.
If the dough becomes soft, sticky or difficult to move, keep it between both sheets of parchment, slide it onto a sheet pan and refrigerate for 15 to 20 minutes, until firm but still flexible. This additional chilling is optional and only necessary when the dough becomes difficult to handle.
Lining a 9- to 10-Inch Tart Pan
Peel away the top sheet of parchment. Use the bottom sheet to support the dough as you lift and invert it over the tart pan, then carefully peel away the remaining parchment.
Gently ease the dough into the bottom and sides of the pan without stretching it. Press it into the corners and against the sides.
Trim the dough level with the rim of the pan. Patch any cracks or tears with small pieces of excess dough.
Lightly prick the base with a fork, then freeze for 30 minutes before blind baking.
Lining 3-Inch Perforated Tart Rings
For the cleanest, most even tart shells, I recommend cutting the bases and side strips separately.
Line a half-sheet pan with parchment paper. Lightly grease the inside of six 3-inch perforated tart rings, wipe away any visible excess and arrange the rings on the prepared pan.
Use a tart ring like a cookie cutter to stamp six circles from the rolled dough. Place one dough circle flat inside each ring to form the base.
Using a small pastry brush or your fingertip, lightly moisten the outer edge of each dough circle with a little water. This helps the side strip adhere to the base.
Cut six strips for the sides. Each strip should be approximately 10 inches long and ¼ inch wider than the ring is tall. Once placed upright, the dough should extend approximately ¼ inch above the ring.
Working with one shell at a time, stand a strip upright inside the ring, placing its bottom edge directly on the moistened edge of the base. Gently curve the strip around the inside wall of the ring to form the side, taking care not to stretch the dough.
Where the ends overlap, trim away the excess with kitchen scissors so the ends meet edge-to-edge. Press the ends together to seal the vertical seam.
Gently press all the way around the bottom seam, where the side strip meets the base, to seal the two pieces together.
Lightly prick the bases with a fork, then freeze the completed tart shells for 30 minutes.
While the shells are still frozen, hold a sharp paring knife horizontally and use the top edge of each ring as a guide to trim away the overhanging dough, leaving a clean, level edge.
Blind Baking
Preheat the oven to 350°F (175°C).
Remove the frozen tart shells from the freezer. Press aluminum foil snugly against the bottom and sides of the shell.
Fill the foil completely with pie weights, dried beans or rice so the sides remain fully supported.
Bake a large tart shell for 15 to 18 minutes or mini shells for 12 to 15 minutes, until the sides look dry and set and the foil lifts away without pulling at the dough.
Carefully lift out the foil and weights.
For a partially baked shell that will return to the oven with its filling, bake uncovered for another 5 to 8 minutes, until the base looks dry and is just beginning to color.
For a fully baked shell intended for an unbaked filling, continue baking uncovered until the base is dry and the entire shell is evenly golden—approximately 10 to 15 minutes more for a large shell or 5 to 10 minutes more for mini shells.
The sweet crusts may brown sooner than the brisée, so rely on appearance rather than time alone. Cool fully baked shells completely before unmolding and filling.
RECIPE NOTES & TIPS
To make the dough ahead: Wrap the dough tightly and refrigerate it for up to 2 days or freeze it for up to 2 months. Thaw frozen dough overnight in the refrigerator, then let it sit at room temperature for 5 to 10 minutes, or just until pliable enough to roll.
To shape the shells ahead: The tart shells can also be completely shaped in their pans or rings ahead of time. Freeze them until solid, then wrap the entire pan or tray tightly. Refrigerate for up to 1 day or freeze for up to 1 month. When ready to bake, line the shells with foil, add the pie weights, and bake directly from frozen (do not thaw first).
To store baked tart shells: Let fully baked shells cool completely, then store them in an airtight container at room temperature for up to 2 days or freeze for up to 1 month. Thaw frozen shells uncovered at room temperature to help prevent condensation from making them soft.
Patch any cracks: Small cracks or tears are common in tart dough, but they should be repaired before adding a liquid filling such as quiche custard. Before baking, patch them with a small piece of leftover dough. If a crack appears during blind baking, mix a little flour and water into a thick paste, press it into the crack, and return the shell to the oven for a few minutes, until the patch is dry.
Water amount can vary: The exact water needed for each dough can vary depending on the flour, the size of the egg yolks, humidity, and how the flour was measured. I recommend weighing the flour for the most consistent results. When a dough still looks very dry and does not hold together when squeezed, add more cold water 1 teaspoon at a time.
Why I prefer perforated tart rings: The perforations allow hot air to circulate around the dough and moisture to escape, helping the crust bake evenly with crisp, evenly browned sides. The straight edges also create a particularly clean, polished tart shell. I use both full-size and 3-inch perforated rings, but a traditional tart pan with a removable bottom will also give you great results.