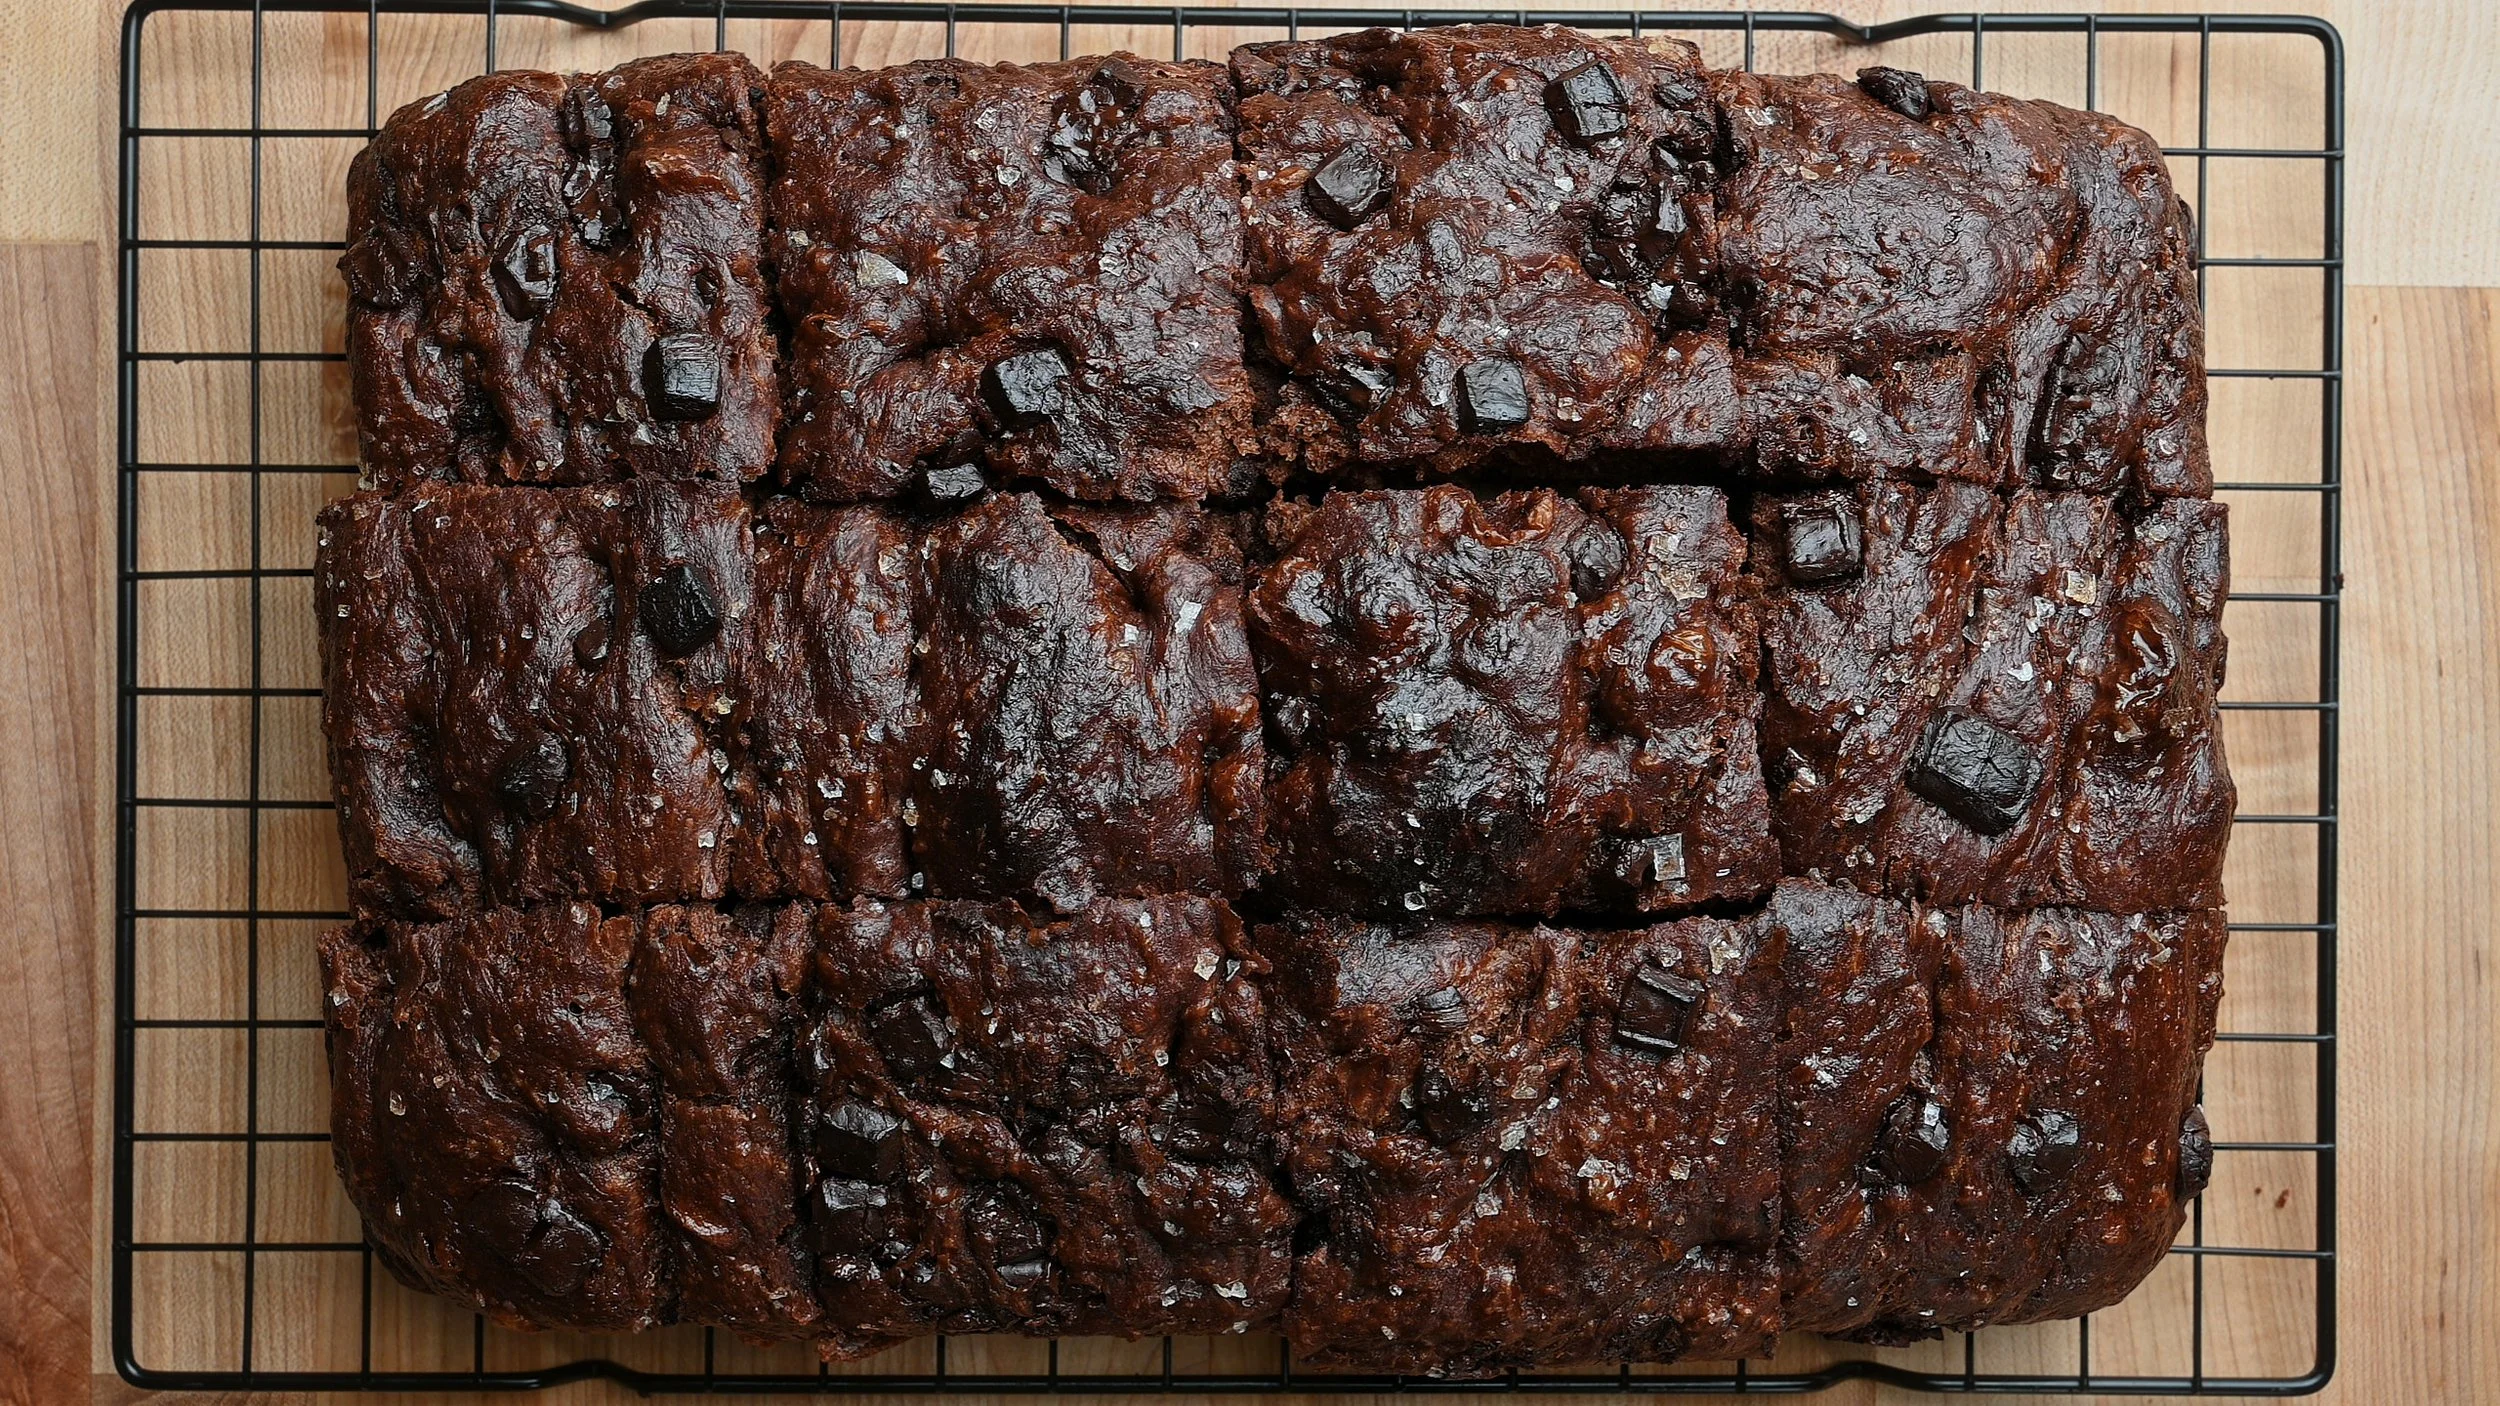
Midnight Focaccia
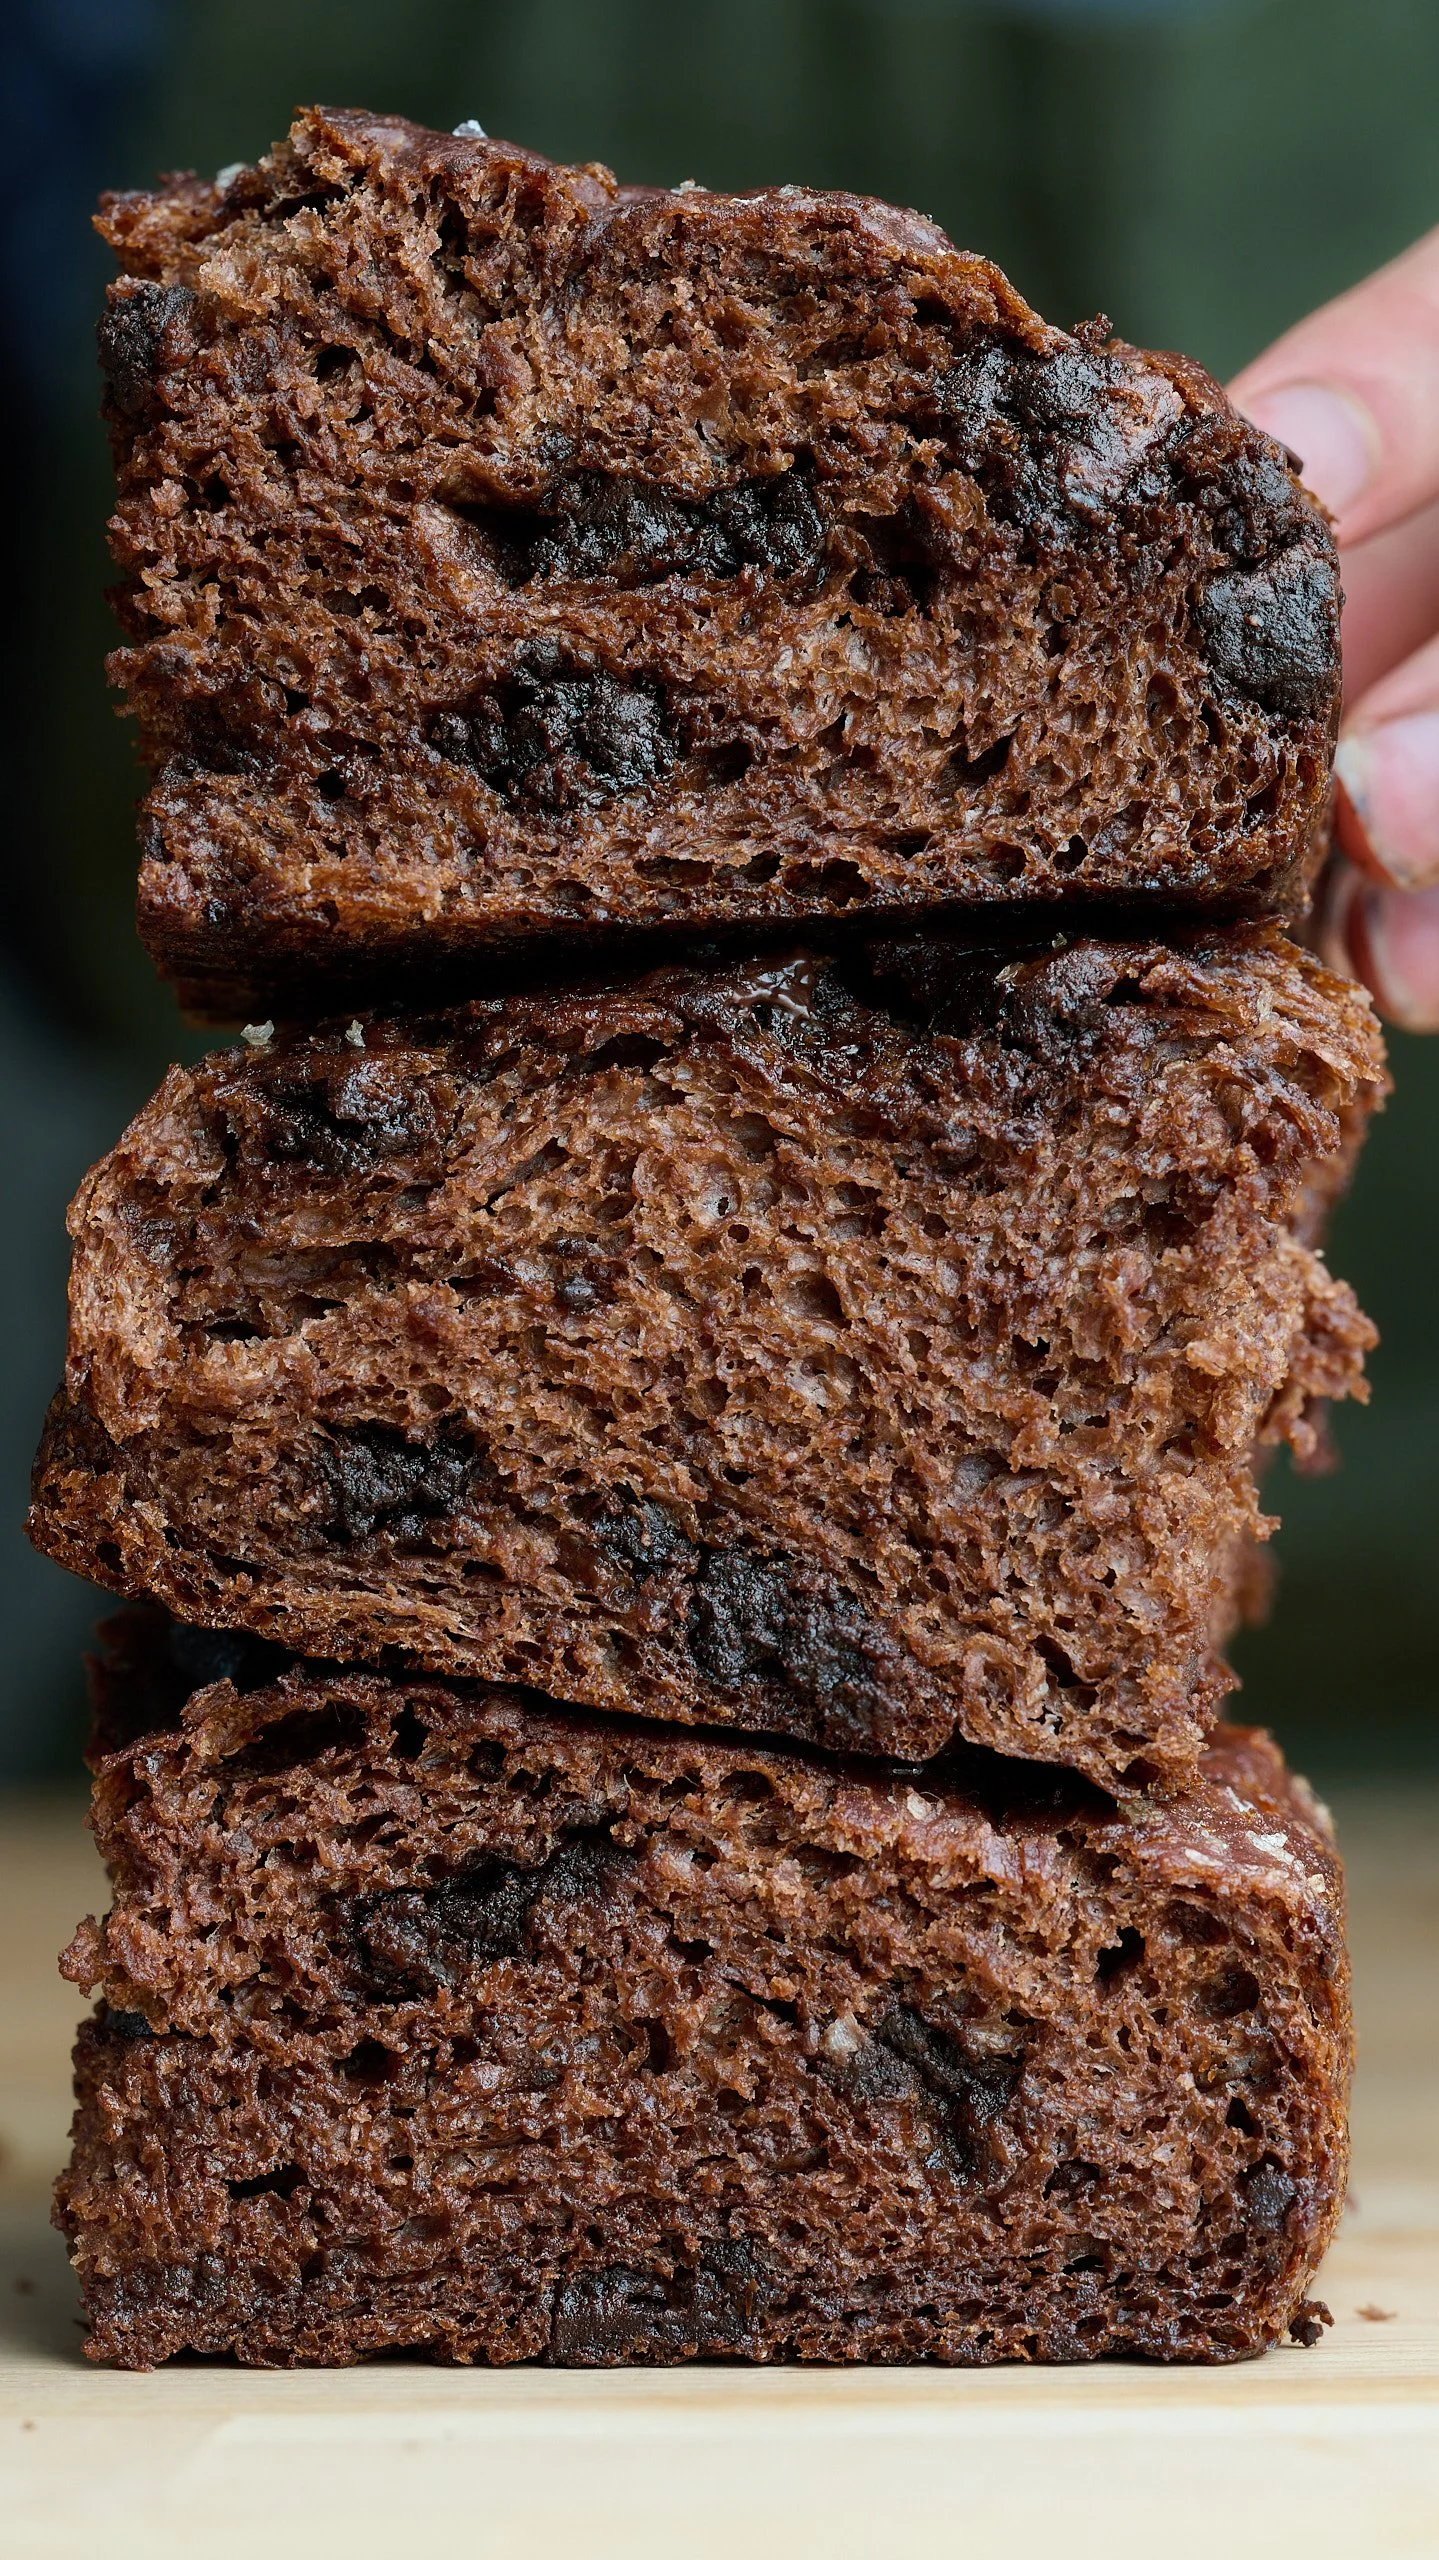
Makes one 9 × 13-inch focaccia; serves 12Note: This is a same-day focaccia recipe, but it requires approximately 4 hours of resting and rising time. Plan for about 5 hours from start to finish. Most of that time is hands-off.
Focaccia is my favorite bread, and chocolate is my favorite flavor, so this double chocolate version was only a matter of time.
This recipe takes my classic high-hydration focaccia dough (the same base as my Bratoberfest Focaccia, but with water in place of the beer) and incorporates Dutch-process cocoa powder and a little extra sugar. During the third set of stretch-and-folds, chocolate chips or chunks are layered into the dough, a little at a time, giving you pockets of chocolate throughout.
While this is a same-day focaccia, it does require a little patience to properly develop the gluten and give the dough plenty of time to rise, ensuring that perfectly soft, airy interior.
The result is an elevated, not-too-sweet chocolate bread that keeps everything I love about classic focaccia: a crunchy, olive oil-rich exterior and an open, plush interior.
Personally, my husband and I love it most in the morning with a cup of coffee, but it's delicious any time of day.
WHAT YOU’LL NEED
-
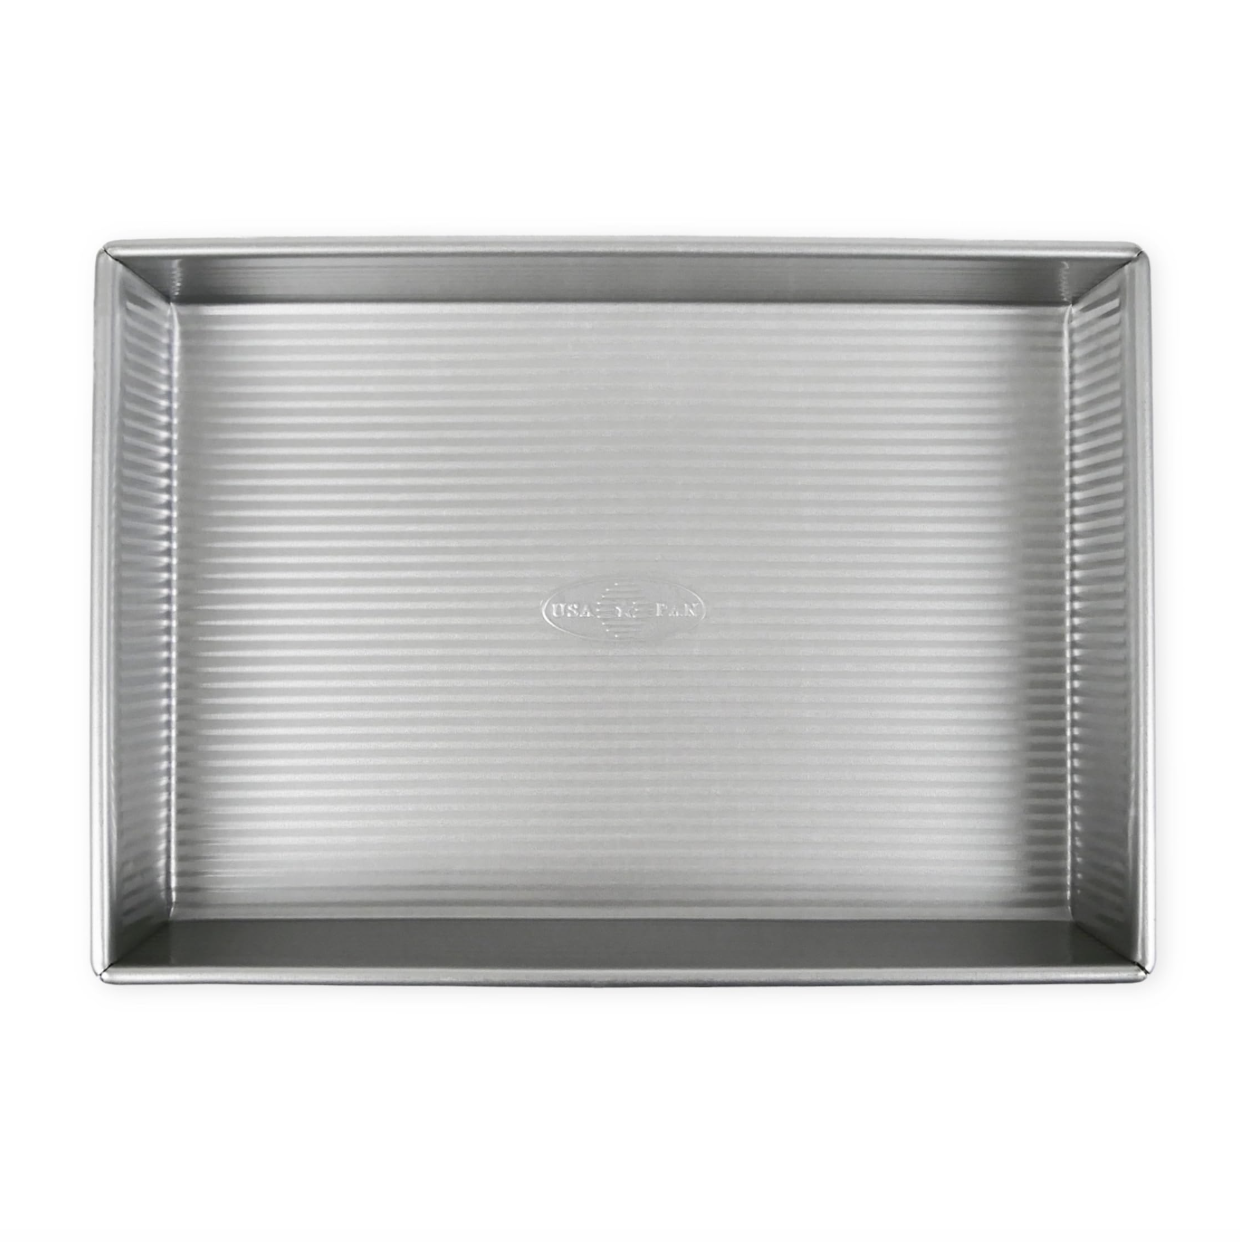
![9x13 metal cake pan metal 9x13 pan]()
9x13 Metal Pan
-
![Oxo good grips everyday spatula on amazon best silicone spatula best rubber spatula for cooking]()
Spatula
-
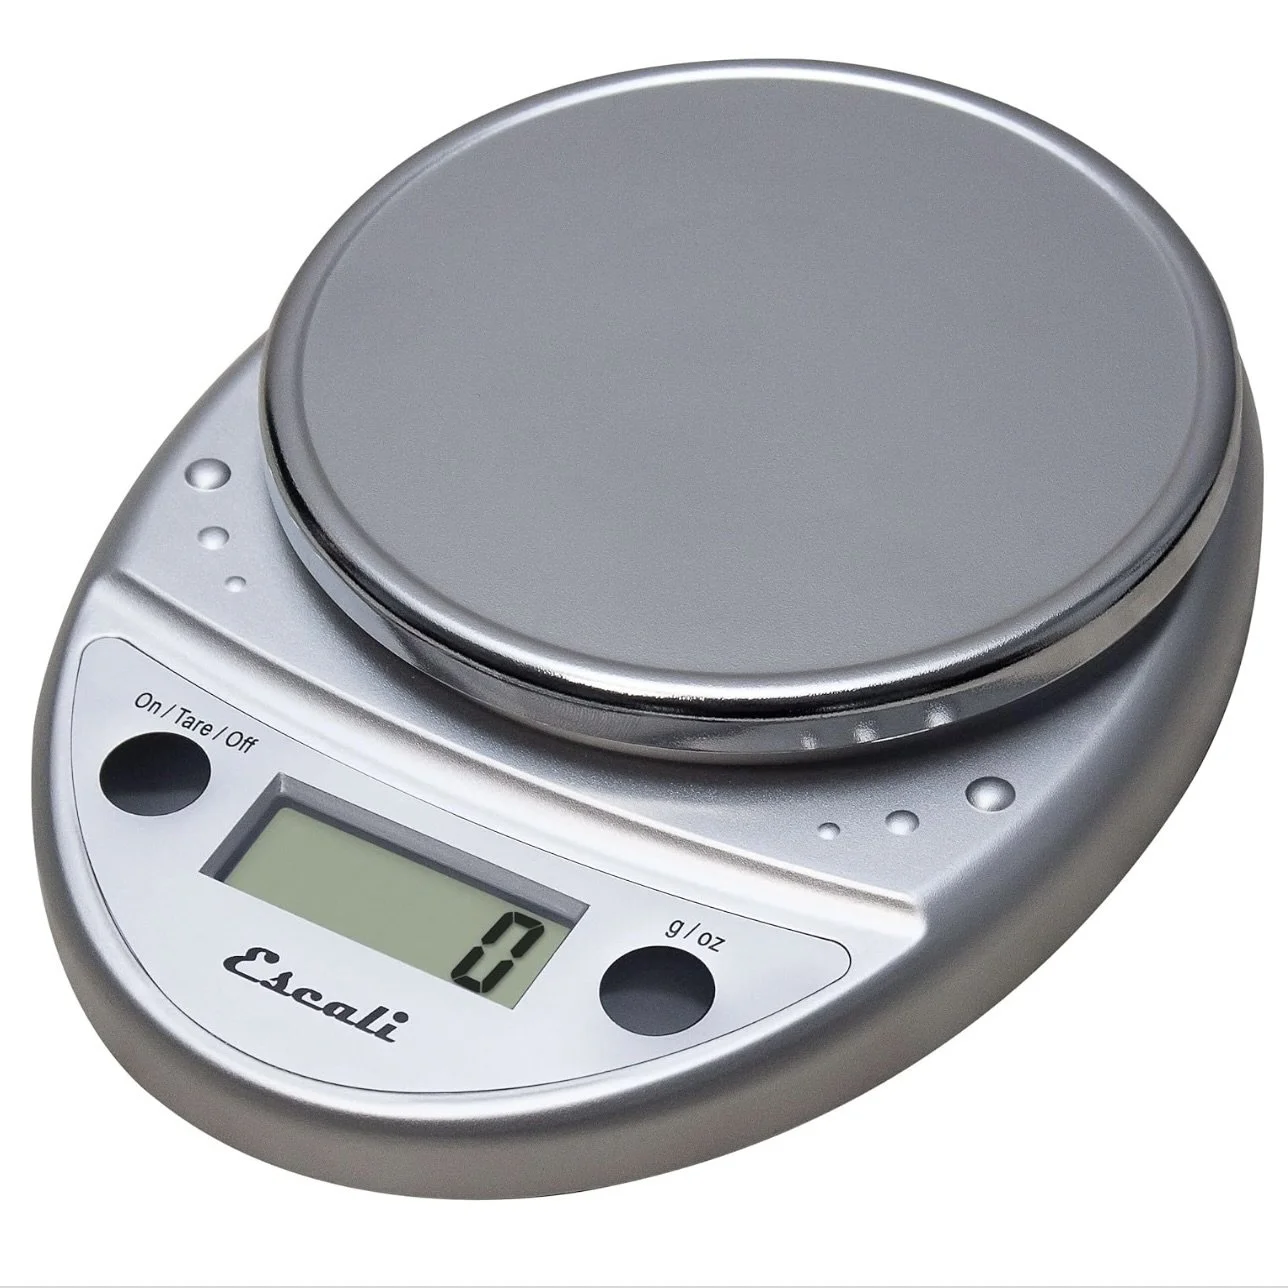
![Escali Digital Food Scale in Chrome Color on Amazon]()
Digital Kitchen Scale

INGREDIENTS
Chocolate Focaccia Dough
4 ½ cups bread flour, spooned and leveled (560 g)
⅓ cup Dutch-process cocoa powder (40 g)
½ cup granulated sugar (100 g)
1 tbsp + 2 tsp Diamond Crystal kosher salt, or 1 tbsp Morton kosher salt (15 g)
2 tsp instant yeast (7 g)
2 ¼ cups lukewarm water (540 g), 90–100°F
1 tbsp + 1 tsp extra-virgin olive oil (18 g)
2 tsp vanilla extract (10 g)
1 ½ cups semisweet chocolate chips or chunks (255 g)
Finishes
3 tbsp extra-virgin olive oil, divided:
2 tbsp for the pan
1 tbsp for the top
1 tsp Maldon or flaky sea salt
2 additional tsp olive oil for brushing, optional after baking
DIRECTIONS
Make the Focaccia Dough
In a large bowl, thoroughly whisk together the bread flour, cocoa, sugar, kosher salt, and instant yeast. Break up any cocoa lumps.
Add the lukewarm water, olive oil, and vanilla. Mix with a sturdy spoon or spatula until completely combined with no dry flour remaining. The dough will be very wet and sticky. Do not add more flour.
Cover and rest for 20 minutes.
Dip one hand in water to prevent sticking. Slide your damp hand underneath one side of the dough, gently stretch it upward until you feel resistance, and fold it over the center. Do not pull far enough to tear the dough.
Rotate the bowl a quarter turn and repeat. Continue until all four sides have been folded into the center. These four folds equal one complete stretch-and-fold set.
Cover and set a timer for 25 minutes.
When the 25-minute timer rings, perform the second stretch-and-fold set: dampen your hand, stretch and fold from one side, rotate the bowl a quarter turn, and repeat until all four sides have been folded.
Cover and rest for 25 minutes.
For the third stretch-and-fold set, divide the 1½ cups chocolate chips into four roughly equal portions. Sprinkle one portion evenly over the dough. With a damp hand, lift one side of the dough and gently fold it over the center. Rotate the bowl a quarter turn, sprinkle the next portion over the dough, and fold again. Repeat twice more, adding one portion before each fold, until all the chocolate is incorporated and you have completed four folds.
Cover and rest for 25 minutes.
Perform the fourth and final stretch-and-fold set. Make four short, gentle folds to help redistribute the chocolate, supporting the dough from underneath without pulling it far enough to tear.
Cover and leave the dough undisturbed until approximately 50–75% larger, approximately 45 minutes. Follow the dough rather than the clock. It is ready when it looks aerated and softly domed, has bubbles around the edges, and jiggles noticeably when the bowl moves. It does not need to double.
Prepare the Pan & Complete Pan Proof
Line the bottom and two long sides of a metal 9 × 13-inch pan at least 2 inches deep with a parchment sling. Leave enough overhang to lift out the baked focaccia.
Pour 2 tbsp olive oil over the parchment. Spread it across the bottom and coat the exposed sides of the pan.
Gently transfer the risen dough into the prepared pan without punching it down.
With well-oiled hands, fold one short end approximately one-third of the way over the center. Fold the opposite short end over the first fold, like folding a letter.
Carefully flip the folded dough over so the seam is underneath and the smooth side faces up. Keep the dough centered lengthwise in the pan.
Slide oiled fingertips underneath the edges and gently ease the dough toward the corners. Avoid pressing down or flattening the surface. It does not need to reach every corner perfectly.
Cover and let the dough rise for 1-1½ hours, until marshmallowy, bubbly around the edges, and noticeably jiggly.
During this proof, preheat the oven to 425°F with a rack in the lower third.
Finish the Focaccia & Bake
Drizzle the proofed dough with the remaining 1 tbsp olive oil.
With oiled fingertips, dimple the dough lightly. Preserve as many visible bubbles as possible rather than pressing firmly across the entire surface.
Lightly sprinkle with Maldon salt or another flaky salt.
Bake at 425°F for approximately 30 minutes, or until a thermometer inserted into a bread-only section near the center registers 205–210°F. If top starts to become too dark, optionally tent with foil after about 20 minutes.
Cool in the pan for 5 minutes, then lift out using the parchment sling and transfer to a wire rack.
If desired, lightly brush the warm top with the optional 2 tsp olive oil for shine.
Cool uncovered for at least 30 minutes before slicing so the crumb can set.
RECIPE NOTES & TIPS
Store completely cooled pieces in an airtight container at room temperature for up to 3–4 days. For the best texture, freeze any pieces you won’t eat within a couple of days. To freeze, wrap fully cooled individual pieces tightly and place them in a freezer-safe bag or container.
Reheat pieces uncovered in a 375°F oven until hot and crisp, usually 8–10 minutes. Frozen pieces generally need 15–20 minutes.
This is not an overly sweet bread, but for a more dessert-like version, dust it with powdered sugar, drizzle with chocolate sauce or ganache, or serve with jam.
Using bread flour is important at this hydration. Its higher protein content helps provide structure in such a wet dough. Lower-protein all-purpose flour may make the dough looser and harder to handle, so I recommend sticking with bread flour for the most consistent results.
To be precise and consistent when baking, I recommend using a Digital Food Scale. The one I linked is relatively inexpensive and in my opinion, a great investment for any home kitchen! But if you don’t have one, I’ll always include cup measurements as well.